Walmart Embraces Amazon MCF: A New Era of Cross-Platform Fulfillment for eCommerce
Walmart Embraces Amazon MCF: A New Era of Cross-Platform Fulfillment for eCommerce
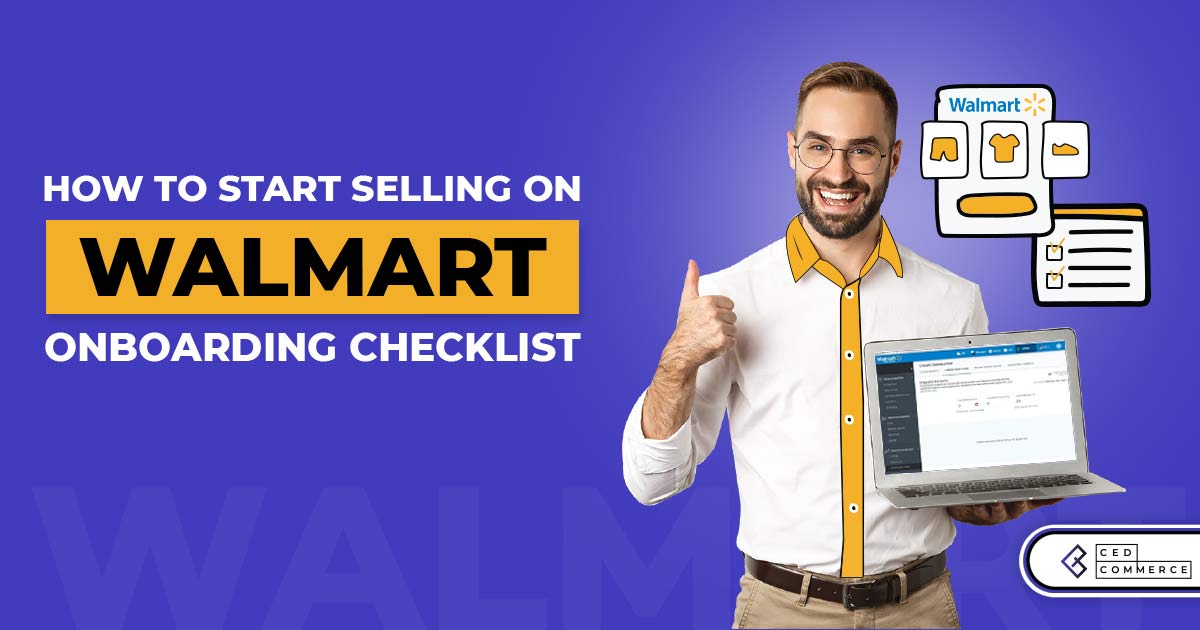
Selling on Walmart Marketplace is one step away. You need to mark this one item off the Walmart Onboarding checklist, and Voila! Your store is live.
To understand how to sell your product on Walmart, you can start with how to start selling on Walmart. And then find out how to create a remarkable Walmart Product Listing and do so with Walmart Integration API.
This guide will walk you through the steps that you have to check on the onboarding checklist. Let us relegate the Walmart onboarding process on a map and find out where we are.
The Walmart onboarding process has four sections.
You can start selling on Walmart once you complete this checklist which contains the following steps:
1st Step: Complete your Registration
2nd Step: Complete your Partner Profile
3rd Step: Setup Items and Upload Inventory
4th Step: Confirm you are Ready to Launch
Once all these steps are marked as done, the seller can launch their account and start selling.
It is worth noting that all these steps are mandatory. But once you finish these steps, your account becomes ready to go. You can start selling immediately after 48 hours of launch.
Completing Registration is the first stage of the Walmart Onboarding Process.
You need to get access to the Walmart Seller Center to start selling your excellent product. These involve all the steps you need to complete your Registration.
Considering you have completed the steps till registering your payment details and shipping information, let us move to the next level.
Once the shipping details ( a very detailed form divided into several stages) are all submitted, review all your details.
Make sure you recheck every detail, although it might sound like a time-taking task to do. All aspects should be as per the guidelines to avoid rejection at a later stage.
Yes, Walmart can deactivate your account later if they find something not falling in line with their guidelines. Submit your form and return to the seller center.
In the seller center itself, go to the settings section and find Partner Profile. Completing your partner profile lets you create a representation of your company on Walmart. It is pretty evident at this point as to what that Partner Profile contains?
Albeit, here is the list of pages you will have to update:
Let’s explore each of these steps.
What name of your company do you want to display for your customers once you start selling on Walmart Marketplace?
Upload your company’s logo to represent your brand. Make sure the size of the file is 400×50 pixels in either JPG or PNG format.
Write a short description of not more than 4000 characters (maximum limit of the field). Walmart also requests not to use any links in this field. Writing a description creates a story that creates a little emotional bond with the customers once you start selling on Walmart.
An email address, preferably the one you use dedicatedly for customers only while selling on Walmart. Don’t worry your email address will be hidden with encryption, as will your buyers’ emails.
Add a number dedicated to your customers only so that you can always prioritize their calls.
Inform your customers about your hours of operation so that they know the timings of connecting with you in case any issue arises.
Customer Service is one excellent way to start building a relationship with your customers. It also participates in your trust-building campaign. Describe your customer service policy, hours of service, phone, and email contact details, etc.
The policy can only be 4000 characters long. Carefully plan your policy to make sure all essential points are covered within the word limit. Make sure you do not place any links or URLs to any website.
Under the Manage Contacts section, you have to furnish the people’s contact details from your organization who look after various business activities. There are five types of contact details that you need to provide here:
Technical: Here, you can provide contact details of people responsible for looking after integration or API-related issues.
Business Management: This section provides contact details of people responsible for business communications between your organization and Walmart.
Customer Service: Here, you can provide the contact details of people responsible for communicating with the customers. Keep in mind that the contact details entered here should be the same as those entered in the Customer Service Tab.
Item Content: In this section, you can add contact details of people responsible for looking after the attributes of items sold at Walmart.
Shipping: This field calls for the contact details of people responsible for shipping and fulfillment-related issues.
Partner Performance: Here, you can provide contact details of people responsible for your organization’s performance.
Make sure you consider all facts and research properly before setting the rates. Your customers find shipping time and cost as a very crucial entity before buying something. With price comes expectation.
They wouldn’t want to spend extra only to receive the delivery a week later. Update all the information related to methods, regions, time, price range, and the corresponding date.
Specify the time for processing the order and if there are days when you do not process orders. It once again helps in setting expectations beforehand. The more informed your customers are, the more patience they retain while waiting for delivery.
Walmart, to protect both customers and sellers, makes sure that all policies are in place. Expectations should be clear before you start selling on Walmart Marketplace. Like all other policies, the Shipping policy can be of 4000 characters only.
This section has two parts:
While selling on Walmart, some customers may request a refund. When that happens, you will be required to start processing the refund process as soon as possible and manually refund the amount.
If you fail to do so in 48 hours, the amount will be refunded automatically. In case this happens too many times, your ratings will be affected.
Walmart will auto-generate a shipping label for return from the seller’s account to the customer. It contains PO# and RMA# for tracking.
For this label, you need to declare the shipping service you want to use for returning purposes. You can choose between the Return Shipping Service and Carrier Account.
Before you can start selling on Walmart, you have to decide on at least one return center. The return center closest to the customer will be automatically selected during the return process if you have configured more than one return center. However, if you want a particular return center to be used for specific items, you can override the automatic selection via Bulk Return Rules Updates.
Before making these rules, go through Marketplace Return Policy. Your rules cannot go against the rules laid down by Walmart’s policies. This section can be used to define rules regarding Return Window, Restocking Fee, Return Shipping Fees, etc., before you start selling.
The return window is the period within which the Walmart Marketplace sellers are required to return the item. This window starts seven days after the date of shipping. The date on which they receive the item is of no consequence here.
Sometimes letting your customers keep the item instead of going through the shipping process and incurring costs is cost-effective. This rule applies that without creating a label and shipping the item back to the seller, they will process the refund without creating a return label.
This kind of policy greatly influences the trust between seller and customer. Customers feel safe, and they convert faster.
Your Return Policy is visible to your Walmart customers on your product page. You can add additional information that you want to add up to your return policy so that customers can read and understand quickly.
Privacy Policy helps your customers in trusting you better. Since this is shown to your customers while shopping, they get a chance to read and understand the risks, you can describe how you aim to keep the privacy and information of your customers safe. The limit to this is 4000 characters as well.
Nexus is where you fill in details about whether or not you are eligible for Sales Tax. It is the seller’s responsibility to file nexus, and Walmart relies on this information. Every seller has a different sales tax obligation.
This information helps Walmart in deciding what Walmart should charge the customers for shipping.
Describe your tax policies in not more than 4000 characters so that customers understand why they are paying certain taxes and what are they meant for?
The Tax forms can sometimes be intimidating and confusing, but once all fields are understood, it becomes an easy enough process.
This step marks the end of your Partner Profile set up and marks it off the Walmart Onboarding Checklist.
As once mentioned above, to create Walmart Product Listing, there is more than one way. Depending upon whether sellers do it themselves or seek help, here are the four methods, and you can choose the one as per your convenience:
Single Item method: You can directly enter your catalog details into the Seller Center with this method. So if you have a limited catalog and less technical capabilities, you can go with the method.
Bulk Upload method: If you have to publish a small catalog, and have less technical expertise, go with this method. In this method, you need to enter your catalog details into Excel spreadsheets.
API integration method: If you have to publish an extensive catalog, go with this method. But, you also need to have the technical expertise to use this method as this method incorporates some programming.
Solution Provider: Now, if you don’t want yourself indulged in the catalog upload process on Walmart, you can choose a Solution Provider, like CedCommerce, who will take care of all the work on your part.
Walmart Integration API method is the most common and advisable method of uploading items for Walmart Product Listing. If you have an extensive catalog of things, this method is indeed recommended.
The answer is Solution Providers. Solution Providers help out the sellers by managing their humongous data across platforms and tracking it for them.
These services vary from Item and Order Management to Fulfillment, along with handling prices for them.
Providers can help you out with all or specific needs of your shop depending upon what you want. Walmart categorizes the Solution Providers as Full-Service Solution Providers, Speciality Solution Providers, and Speciality Partners.
Solution Providers are the third-party servers who are registered Partners with the Marketplaces, for which they provide a solution. Here are some keys that you should consider while deciding which Solution Provider to choose. Whether they offer:
Working with CedCommerce is the best decision we have made in our business.
-Rachel & Don, owner & CEO of USAloot
To get all the services mentioned above, you can get in touch with the respective team and figure out the best fit for all your needs! If you need more information, find out how to get API keys from Walmart Marketplace.
Once you finalize the integration method, you can move on to Item Setup.
Before you can go live, you need to update a product listing. While creating your Product Listing, keep in mind that you are communicating with your customer base, and this will be your chance to make the first impression.
And as mentioned above, this product listing would have to follow those criteria. Here are specific tips for setting up your Walmart Product Listing:
Choose the right category and subcategory for your item. Categorization defines the referral fees you pay to Walmart. But that is not it. How much you sell depends upon how Walmart displays your product. Hence, the display at the end depends upon your selection of categories and subcategories.
Note: When you create product profiles and connect them to Shipping Templates, you can create different Shipping Profiles (depending on the type, size, weight, and distance of the shipped product) for an overall easier shipping process.
Review the item requirements and upload images as per Walmart guidelines.
The image plays a significant role in selling products on Walmart. Walmart has laid down very detailed rules and tips to help with suitable images for products. Image size, file format, file size, aspect ratio, image URLs, etc., are all elaborated well for the seller’s help in guidelines.
Walmart provides a complete workbook with detailed instructions and tabs for each category available on Walmart. On opening sheets, you can find sub-categories just as well. Hence, careful categorization before reaching this stage is crucial.
For updating items on Walmart, there are several methods to reduce the work for sellers. Sellers can either choose to do it themselves, or they can get assistance from Solution Providers. While doing Walmart Product Listings by themselves, they would have to fill out the Item Specs Worksheet.
The next step is to update inventory. For updating inventory using inventory spec, go to Items & Inventory, and then click on Bulk Updates.
From the Select Spec Template, and under the Select Spec dropdown, select Bulk Inventory Update and then click download.
Now an Excel Sheet opens up in which you need to enter SKUs that you want to update, the quantity of stock, and then Save the file.
Once all this is done, you need to upload the Completed Spec.
At this step, make sure that the following things are in place:
If yes then, go ahead and click that Ready to launch button on the bottom of the Walmart onboarding Checklist.
In case you chose a Solution Provider, the process of onboarding might differ a little bit. To understand the process again, make sure you contact the right solution provider and let them take care of it all!
After placing the request for launch, wait for Walmart to approve your application. You will receive an approval mail from Walmart and 48 hours post which your account will be live. Congratulations!
So, once you decide to take your store to Walmart, you will find yourself wondering how to do that? How to sell your products on Walmart? Well, the answer to that is rather a simple one.
To start selling on Walmart, you need to fill out the Walmart application form before beginning the registration process and gaining access to the seller center. As soon as you gain access to the seller center, you can upload your inventory either by yourself or choose a third-party solution provider to meet your needs through Walmart Integration API.
Once done, complete Walmart Onboarding Checklist to go live.
Check out some interesting videos, if you want to know more about the third-party solutions that CedCommerce provides.

Walmart Embraces Amazon MCF: A New Era of Cross-Platform Fulfillment for eCommerce
Order Management Redefined: A Centralized Solution for Amazon Sellers

Maximizing TikTok Shop’s Regional Compatibility for US, UK, and EU Markets

Understanding U.S. Tariffs in 2025: What Sellers Need to Know and Do
Walmart’s Search Algorithm Decoded: How to Rank Higher & Sell More
TikTok Gets a 75-Day Reprieve in the USA as Trump Signals Hope for a Deal

TikTok Shop Introduces Category-Based Benchmarks for Product Listings – What Sellers Need to Know

Amazon FBA vs. FBM: Which Fulfillment Method Is Right for You?

Amazon Launches Another AI Tool for Sellers: AI Generated Product Enrichment
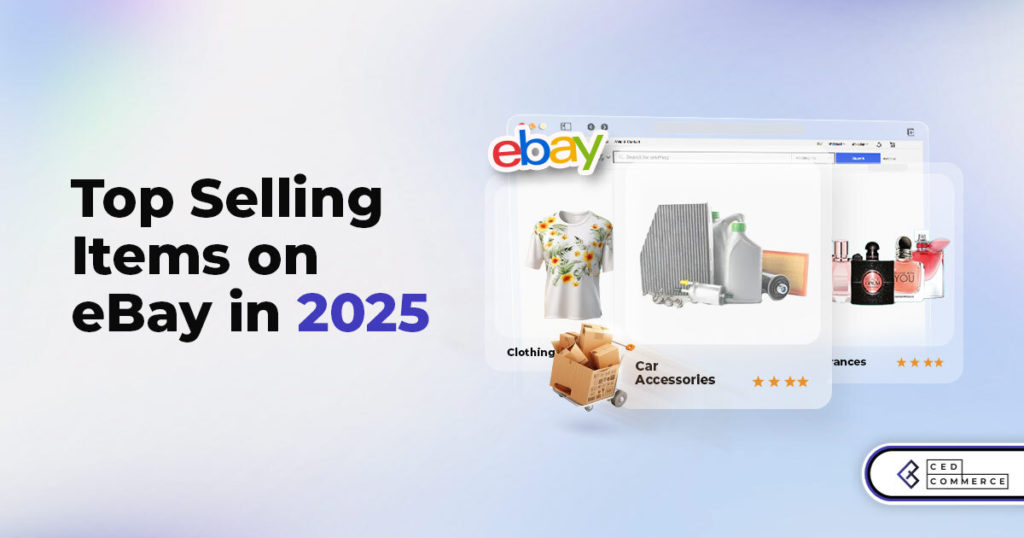
Top 10 Selling Items on eBay in 2025
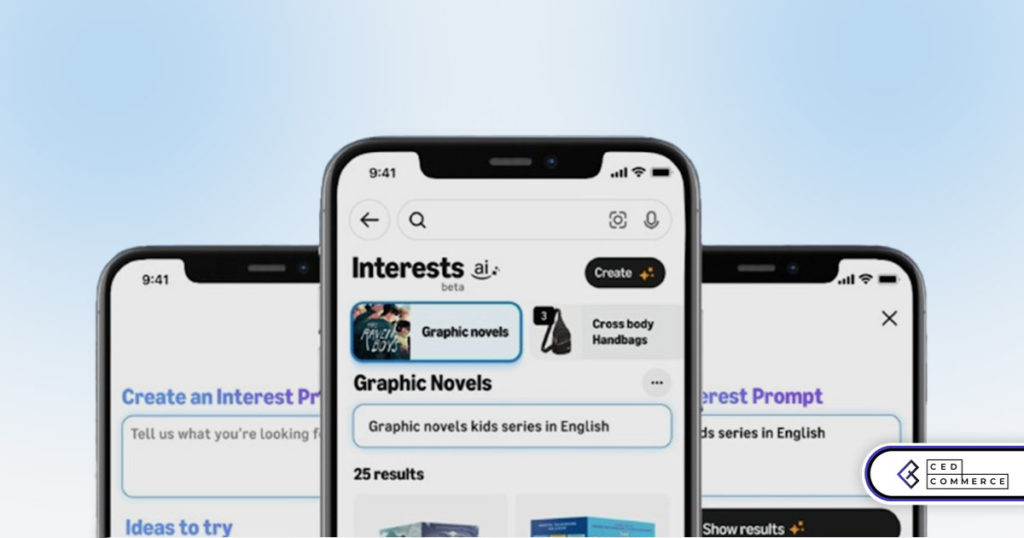
Amazon launches AI Powered ‘Interests’ Feature to Improve Shopping Experience

Is TikTok Staying in the US? The State of TikTok Ban

Best Buy coming back to the US, Marketplace Relaunch and New Opportunities in Store!

Miravia PrestaShop Connector: Built for Smart Sellers
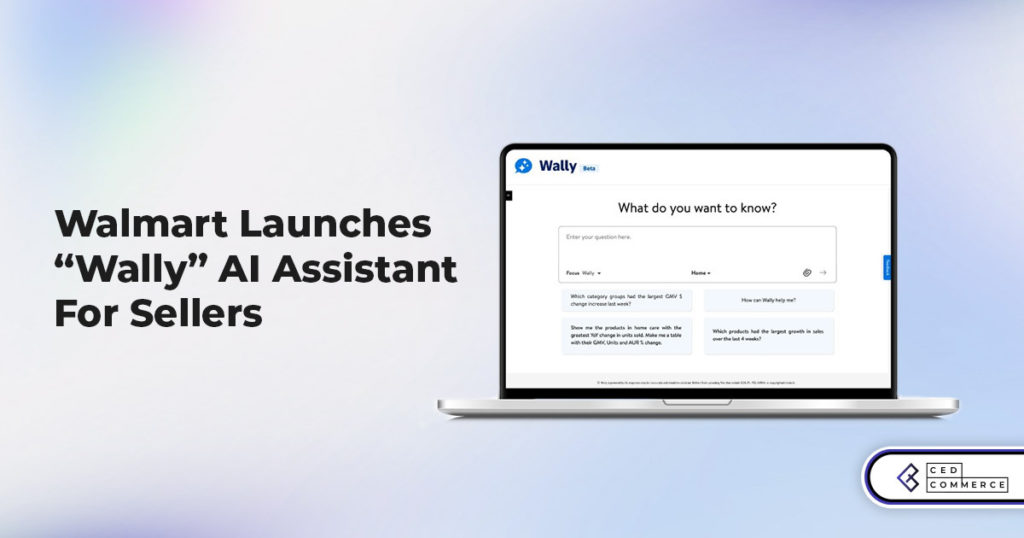
Walmart Launches “Wally”, AI Assistant For Merchants

TikTok Shop to Start Business in Germany, France, and Italy

TikTok Shop Surges as Americans Spend $700 Annually, Defying Regulatory Pressures

Amazon’s Longest Prime Day Ever: What You Need to Know

eCommerce Growth in the Netherlands: A 5% Surge in 2024 with Bright Prospects Ahead
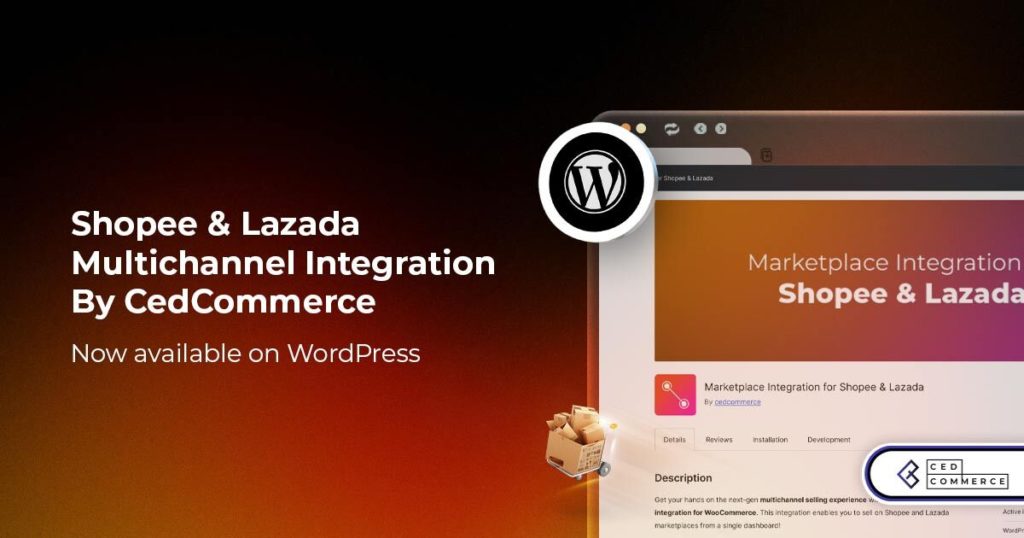
CedCommerce Launches Shopee & Lazada Integration for WooCommerce on WordPress.com