Centralized Catalog, Faster Publishing: 40ParkLane’s Marketplace Success with CedCommerce
Reading Time: 4 minutesAbout the Brand: 40ParkLane LLC Studio40ParkLane is a design-led print-on-demand brand created…
You don’t have to be an expert to set up your online store on Shopify. Everything is confined within Shopify’s ecosystem. You need to pick suitable elements and create your store. This Shopify store setup guide will provide a microscopic view of how you can tweak your store’s homepage, collection page, product, and checkout page. If you want to know the ins and outs of setting up a Shopify store, then you are at the right place.
Visitors should be able to know what all your store is offering as soon as they land on your store’s homepage. According to research, visitors spend 10-20 seconds on the homepage. As a result, the first 10 seconds are of utmost importance. The points mentioned below will answer how to set up a Shopify store’s homepage so that visitors react – “Wait a minute. This looks cool!”
Begin with a Simple Pop-Up – The best time to use a pop-up is in the starting when a visitor is about to begin their shopping journey. Not all users like to see the pop-up in the middle of their journey.
Pop-ups can be used in dynamic ways. For example, you can ask visitors to subscribe to your newsletter to avail discounts by sharing their email address or a sweet welcome message. It might take a few strokes of luck if you use pop-ups without a clear intention and placement strategy. Use pop-ups wisely, and your visitors will interact with them.
Sniff the Art of Copywriting with Banners – It is not wrong to say that products are the focal point of your Shopify store. In the same way, banners of your store are showstoppers. When setting up your Shopify store, don’t forget to add banners to your homepage section.
Just like pop-ups, you can utilize banners in unimaginable ways. From talking about your brand to featuring the latest products – don’t be shy to express the excitement of your store through beautiful banners. Shopify store setup guide is much more than just adding products and creating collections. It should also be about how you can subtly feature your products. And banners solve this purpose. Spurred on by the impact of copywriting, here’s how our idea merchants are using banners to hook shoppers –
Feature the Best – You can create countless sections blocks and feature your products. But ask yourself, is this a wise choice? Visitors spend 10-20 seconds on your homepage and then navigate to other pages of your Shopify store.
If you feature too many products on your homepage, then you’re killing the true magic of featured products. Thus, come up with a list of 5-7 products, feature them, and keep changing them from time to time. This is one of the rare mantras of setting up a dynamic Shopify store and never feels monotonous.
The header menu tells everything about what you are selling. Thus, you should know the difference between overdoing and doing a little less. Here’s a pro tip for designing your store’s header menu –
Create responsive, vertical or horizontal aligned header menues!
By default, Shopify has 2 predefined clickable menu items. Follow this Shopify store setup guide to setup header menu –
Point to remember – The menu’s placement and style depend on your store’s theme. Don’t forget to consult our team of Shopify experts who can help you choose the theme for your Shopify store.
Everything you do in your store, you do it with the hope of seeing visitors reaching product pages. Visitors who make it to the product page represent your hard work and dedication.
How would you feel if things got messed up at this stage? It sure is nightmarish thought. Here are some ways to break the mold and revamp your store’s product pages. After all, the question shouldn’t be how to set up your Shopify store. The question should be – how you can do it better than your competitors.
Cozy Background Color – Product pages are the spotlight of your store because that’s where customers connect with your products. It is highly advisable to keep your product page minimalistic and focus on the product itself.
Always have a white-colored background. The white color helps customers focus on the product images, title, and description.
With Subtle Title & Description – Title & description are the key focus areas of a product page. Think of a visitor who is unaware of your product. Soon after scrolling the images, they would like to know what the product is about, its features, etc. As a result, you must talk about your product and convey crucial information. Keep these things in mind while you upload products –
Builds Trust & Confidence – Many studies have shown that shoppers necessarily check reviews and testimonials before placing an order. A good product description with high-quality images is not enough to create an impact. Always have social proof, testimonials, and review sections added to your product pages.
Collection pages are linkable pages where you can group your products and make a lovely collection out of them. Here are some common examples of collections –
Grouping products shouldn’t be the critical focus of the Shopify store setup guide. The focus should be to,
Create Relatable Collections – Don’t create collections anonymously. Apply logic, emotions, and strategy to it. There is no point in grouping kids’ products with that of adults.
When creating collection pages, you should think from your customer’s view. What collections are they willing to see? How should I bundle products in a way to add more value? Once again, setting up a collection page is easy but it would be great if you can make them clickable, viewable, attractive, and valuable.
Each Collection Must-Have AtLeast 10 Products – Although there is no minimum and maximum limit of adding products to collections. But a collection with less than 10 products is of no use. If shoppers don’t have options to choose from, don’t expect them to spend more than a minute on that page.
And lastly comes your store’s checkout page. Till now, you have introduced utmost creativity, credibility, and logical flow to your Shopify store. But if you’re casual with the checkout page then you might lose a good chunk of conversions.
But the question arises – how to create a seamless checkout experience? With Shopify by your side, you can customize your store’s checkout experience in the following ways –
This is unbelievable, right? Every big and small tweak is possible with Shopify’s all-new theme editor. Here’s a simple example of how you can add a background image –
Do you want to streamline and customize your Shopify store’s checkout page? Drop a message to our Shopify experts who can flip your checkout page and unleash its true potential.
One crazy thing about the Shopify ecosystem is that it is highly dynamic and from time and again, it brings strings of spine-tingling updates. As a merchant, it isn’t easy to tack your business, study what’s happening around Shopify’s ecosystem and how you can upgrade your store.
This is where CedCommerce comes in handy. Our team of Shopify experts not only have answers that unbox the mystery of how to set up a Shopify store but they are also one message away if you need business strategy guidance or custom commerce experience.
It isn’t wrong to consult industry experts. After all, businesses don’t gear up on a single day and not by one single person. Businesses are like lego games – one block at a time with a team of talented minds. If you’re managing your store with Shopify or if you wish to start one then don’t forget to consult our energetic team of Shopify store developers.
Before we bid adieu we thought of compiling a FAQ section with the best answers. These answers are coming straight from our team of Shopify experts.
It isn’t challenging to set up your with Shopify. The store setup journey is compelling as you progress through the Shopify store setup guide. There is much more than just adding products, choosing a theme, creating collections, and launching your store.
If you want to see your Shopify store as a leader in its niche then you should creatively utilize its ecosystem. Depending on your business, products, and vision, you can add eCommerce dynamism. But how you’re going to do this? Simple. Connect with our team of Shopify store experts.
Yes, you can install the Shopify app, log in to your account and operate your store through your smartphone. However, we advise you to set up your store through a laptop so that can view the changes on a widescreen which will give clarity of how things are progressing.
Well, there are many things that you can do. Bur firstly, be clear about your customers, brand, and product placement. If you have clear aesthetics then everything else is just a matter of some clicks.
You can include the following things your Shopify store to flip its look-and-feel –
All you need to do is, log in to Shopify admin and tweak your checkout experience with Shopify’s theme editor. As mentioned previously, you can do wonders with your checkout page like change banners, fonts, and add custom functionality.
You can follow these step-by-step instructions and customize your checkout page. Our team of store experts would love to add value to your business in case you’re looking for an experienced opinion.
This was all about the Shopify store setup guide and how you can set up your store’s various elements and pages. You don’t have to be an expert for all this but in case you need someone, then CedCommerce is a message away!

Reading Time: 4 minutesAbout the Brand: 40ParkLane LLC Studio40ParkLane is a design-led print-on-demand brand created…

Reading Time: 3 minutesAbout the Company Brand Name: David Protein Industry: Health & Nutrition (Protein…

Reading Time: 3 minutesOnline retail spending in Germany is entering a renewed growth phase after…

Reading Time: 4 minutesTikTok Shop has released a comprehensive Beauty and Personal Care Products Policy,…

Reading Time: 4 minutesTikTok Shop has formally outlined comprehensive requirements for expiration date labeling and…

Reading Time: 3 minutesTikTok Shop is raising its sales commission for merchants across five active…

Reading Time: 11 minutesBy now you have seen your BFCM 2025 numbers. The harder question…
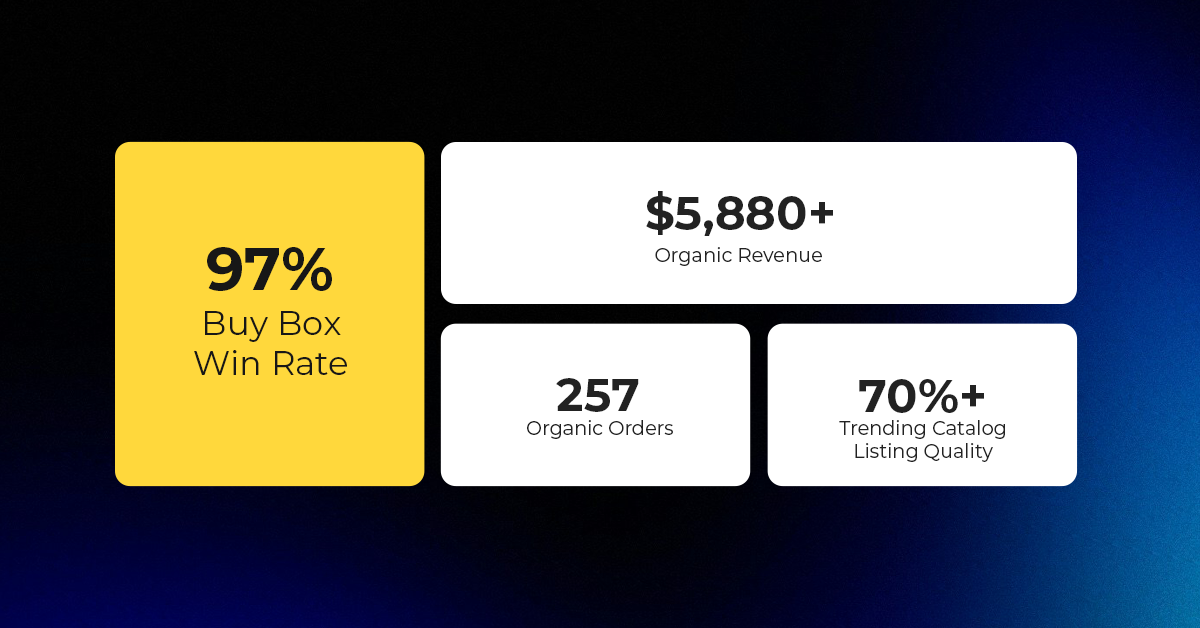
Reading Time: 3 minutesAbout the Brand Name: Vanity Slabs Inc Industry: Trading Slabs- Vanity Slabs…

Reading Time: 2 minutesAbout the Brand Name: Ramjet.com Industry: Automotive Parts & Accessories Location: United…

Reading Time: 2 minutesAmazon is rolling out strategic referral fee reductions across five major European…
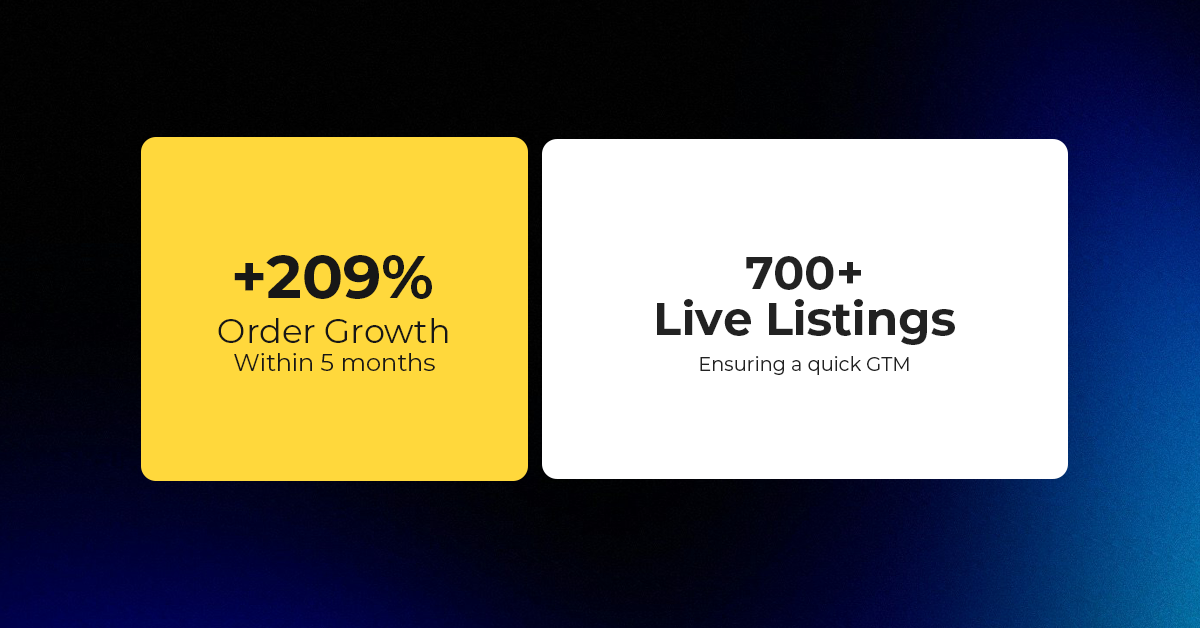
Reading Time: 4 minutesQuick Summary: Scaling Lifestyle Powersports on eBay with CedCommerce Challenge: Zero marketplace…

Reading Time: 4 minutesTikTok has surpassed 460 million users across Southeast Asia, reinforcing its position…

Reading Time: 3 minuteseBay has released its final seller news update for 2025, with a…

Reading Time: 3 minutesAmazon has clarified its stance regarding speculation around a potential breakup between…

Reading Time: 4 minutesWalmart is accelerating its push into next-generation fulfillment by expanding its drone…

Reading Time: 4 minutesFaire, the fast-growing wholesale marketplace connecting independent retailers with emerging brands, has…

Reading Time: 4 minutesB2B buying in the United States is undergoing a fundamental behavioral shift…

Reading Time: 3 minutesSummary Cyber Monday 2025 has officially become the largest online shopping day…

Reading Time: 2 minutesSummary Amazon kicked off December with two major developments shaping the future…

Reading Time: 2 minutesSummary Walmart has entered December with two major moves that signal a…