Walmart Embraces Amazon MCF: A New Era of Cross-Platform Fulfillment for eCommerce
Walmart Embraces Amazon MCF: A New Era of Cross-Platform Fulfillment for eCommerce

This blog was published when Magento 2 was in beta phase. Now that
extended version is available, the blog explains how to download
Magento 2 in Linux
Hello Everyone in our last post we discussed the Magento 2 installation on windows.
Now we will discuss the Linux system installation.
We have been working in the previous versions of Magento 2.0 series. So installations in the previous version was a very easy task for us. But now the things have changed. And this change also reflects in the installation, especially for a Linux system.
So we are here to make this process a seamless experience. To achieve that proceed as mentioned below:
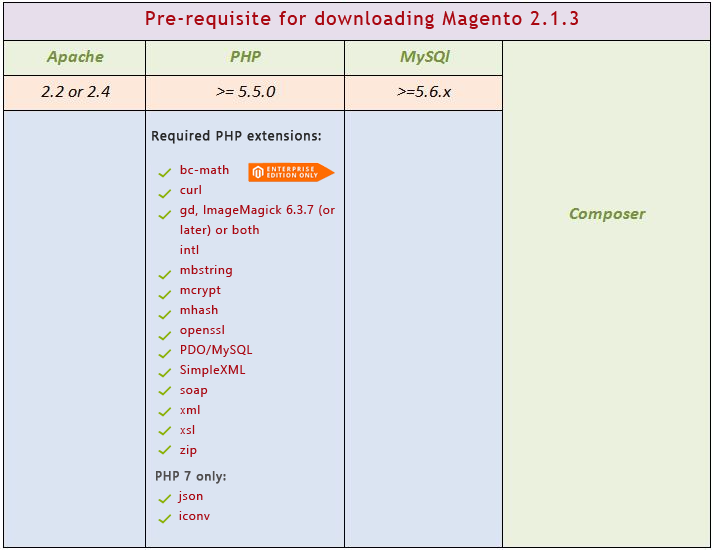
I) Prerequisites-
Before we proceed with installation, install all the required standalone software/extensions listed below:
II. Installation :-
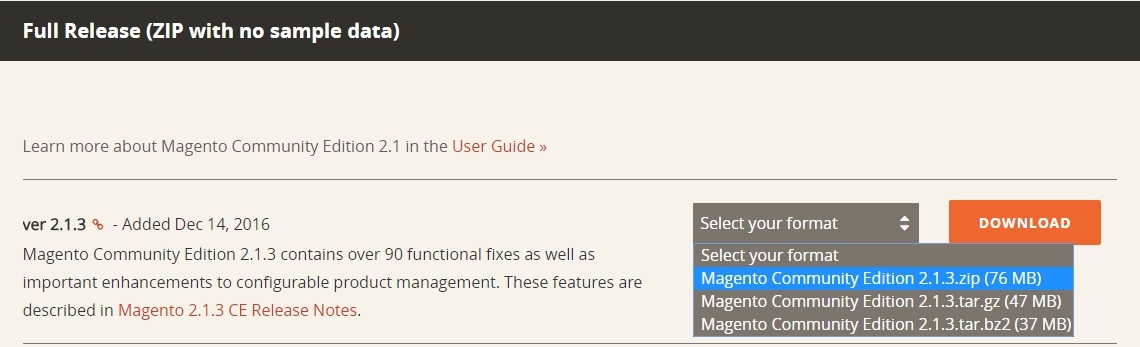
Step 1) Download Magento community edition 2.1.3.zip (76MB)
Step 2) Extract- Magento Community Edition 2.1.3.zip in \opt\xampp\htdocs\magento2
Step3) Now assign permissions to single user in Magento Folder
Use a file manager application provided by your shared hosting provider to verify write permissions are set on the following directories
i) vendor (Composer or compressed archive installation)
ii) app/etc
iii) pub/static
iv) var
Any other static resources
If you have command-line access, enter the following commands in the order shown:
cd <your Magento install dir>
find var vendor pub/static pub/media app/etc -type f -exec chmod u+w {} \;
find var vendor pub/static pub/media app/etc -type d -exec chmod u+w {} \;
chmod u+x bin/magento
To optionally enter all commands on one line, enter the following assuming Magento is installed in /var/www/html/magento2:
cd /var/www/html/magento2 && find var vendor pub/static pub/media app/etc -type f -exec chmod u+w {} \; && find var vendor pub/static pub/media app/etc -type d -exec chmod u+w {} \; && chmod u+x bin/magento
Step 4) Thereafter, run the path of your Magento 2 on the browser :-
It immediately throws an error on the browser as below:-
Error:- Autoload error
Vendor autoload is not found. Please run ‘composer install’ under application root directory.
Step 5) This error indicates that vendor auto loader is missing in your Magento or need to install some required software/extension in Magento2 directory. So to make it available, run this command inside your Magento2 directory.
sudo composer install
To move in the Magento2 directory use command, cd opt/lampp/htdocs/workspace name/your magento2 folder(replace directory name accordingly ).
Step 6) If you have all requirements fulfilled then it may be possible that in a single attempt you can install Magento on your server. However, if you don’t have all the dependencies installed on your system inside the /usr/lib/php5/20121212 then it results in an error, asking to install them else it loads all dependencies from composer.json file.
********************************************************************
ERRORS MAY OCCUR DUE TO INSUFFICIENT DEPENDENCIES:-
A) If the composer is not installed on your system, it again results in an error. See the screenshot that might generate when you run composer install command,
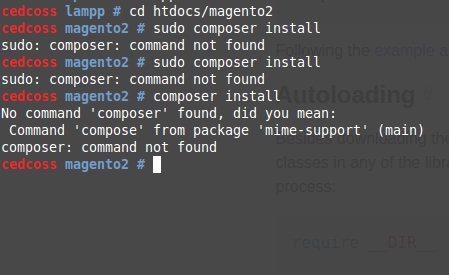
To Install composer on Linux system, open the terminal and run the command;
you can install this anywhere from the system directory,
curl -sS https://getcomposer.org/installer | php
Make composer accessible from anywhere so that you don’t have to use the full “php composer.phar” command to run it. For this run the command :-
mv composer.phar /usr/local/bin/composer
Before that your system must have two requirements to be installed:-
sudo apt-get install php5-curl
sudo apt-get install php5-cli
When both have been installed then run composer command and it will install composer on your system. Check screenshot :-
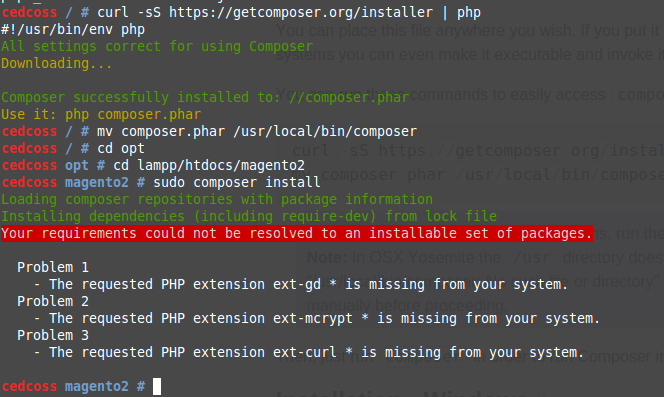
B) After that there are another four (sometimes three) requirements that should be installed, that can be remaining in your system. To install them you have to run the four command on the terminal :-
After that all four system settings get installed on your system automatically, inside the /usr/lib/php5/20121212 named as:-
C) After installing aforementioned extensions, again it is showing the missing of mycrypt extension on running composer install command,
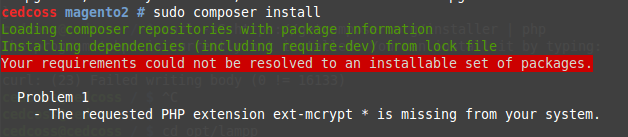
Then check under the /etc/php5/mods-available there is a file of mycrpt.ini is present. If yes then check under /etc/php5/cli/conf.d there is sym link of mycrypt.ini is present or not.
If not then create it using the command:-
You can use sudo php5enmod mcrypt to enable the mod. It will create the symlink for you.
D) Now when you again run the install composer command, it installs all the requirements and generates autoload files.
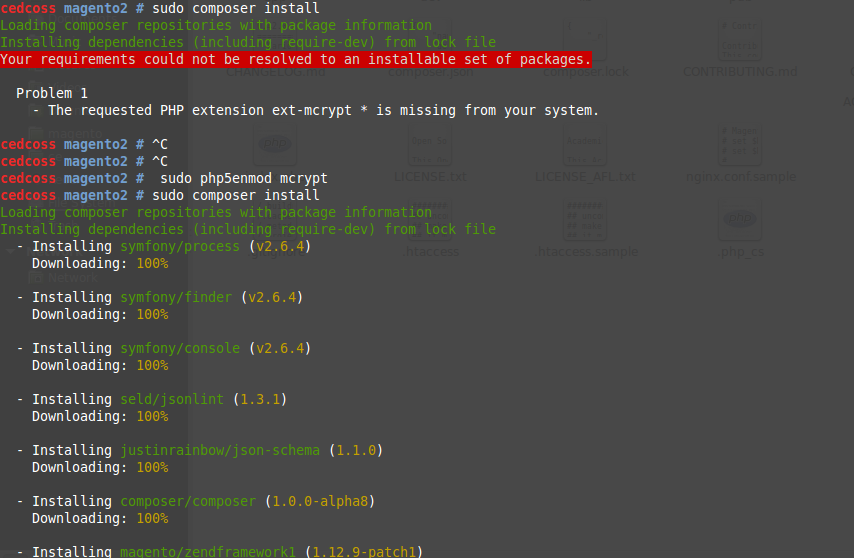
After that a new folder vendor get created in parallel to app directory.
********************************************************************
Step 5) Now again run the Magento2 url on browser.
Error:- Maybe it gives the error like:-
Could not write the file. If you have not given the proper permissions to the folders of Magento.
III. Final Set-up :- After that when you run the Magento on the browser again:-
Step1.) First, it will check the readiness of the system called as system requirements, permission check and version check.
Error That might Occur In This Check:-
If you get errors related with php raw post then open php.ini and set always_populate_raw_post_data=-1
Step2.) Then create the database related to your new Magento2 tables in your database and put all the details where it asks to enter.
Like:-
Database Server Host * That is the host (for your system is localhost)
Database Server Username * Database Username
Database Server Password * Database Password
Database Name* (This is the name of the database for storing your Magento tables.)
Table prefix (If you want to put the prefix for your tables)
Step3.) Then Perform the web configuration. In that case, you can give the URL to your Magento shop of your choice.
Like:-
Hostname(e.g. localhost)/workspace name(if you have kept your Magento inside any workspace)/magento2 folder name.
This is the default URL. You can create the URL of your choice.
Step4.) Then after that, as in the previous Magento versions, you can change the default currency zone, currency and the language according to your location.
Step5.) Thereafter, process to create an account in the admin is same as in old Magento series. Give the username and password of your choice.
Step6.) Then click on install the Magento.
Step7.) If it is successfully installed, then you can launch your Magento through the URL which you have given while installing.
Front-end URL:-
Hostname(e.g. localhost)/workspace name(if you have kept your Magento inside any workspace)/magento2 folder name.
Backend URL:-
Hostname(e.g. localhost)/workspace name(if you have kept your Magento inside any workspace)/magento2 folder name/admin.
For installation on windows visit Magento 2.0 installation guide for windows .
Walmart Embraces Amazon MCF: A New Era of Cross-Platform Fulfillment for eCommerce
Order Management Redefined: A Centralized Solution for Amazon Sellers

Maximizing TikTok Shop’s Regional Compatibility for US, UK, and EU Markets
Understanding U.S. Tariffs in 2025: What Sellers Need to Know and Do

Walmart’s Search Algorithm Decoded: How to Rank Higher & Sell More

TikTok Gets a 75-Day Reprieve in the USA as Trump Signals Hope for a Deal

TikTok Shop Introduces Category-Based Benchmarks for Product Listings – What Sellers Need to Know
Amazon FBA vs. FBM: Which Fulfillment Method Is Right for You?

Amazon Launches Another AI Tool for Sellers: AI Generated Product Enrichment

Top 10 Selling Items on eBay in 2025

Amazon launches AI Powered ‘Interests’ Feature to Improve Shopping Experience

Is TikTok Staying in the US? The State of TikTok Ban

Best Buy coming back to the US, Marketplace Relaunch and New Opportunities in Store!

Miravia PrestaShop Connector: Built for Smart Sellers
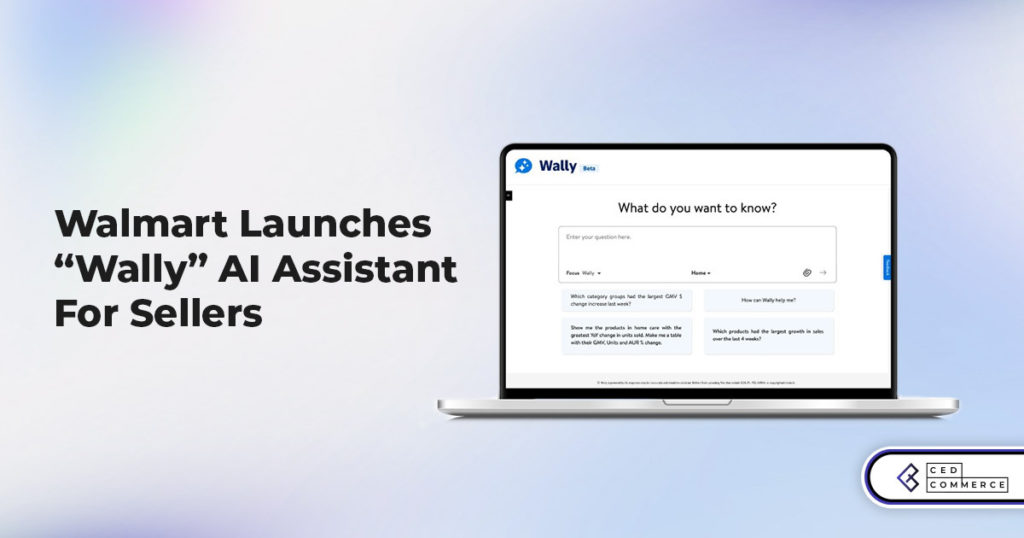
Walmart Launches “Wally”, AI Assistant For Merchants

TikTok Shop to Start Business in Germany, France, and Italy

TikTok Shop Surges as Americans Spend $700 Annually, Defying Regulatory Pressures

Amazon’s Longest Prime Day Ever: What You Need to Know

eCommerce Growth in the Netherlands: A 5% Surge in 2024 with Bright Prospects Ahead
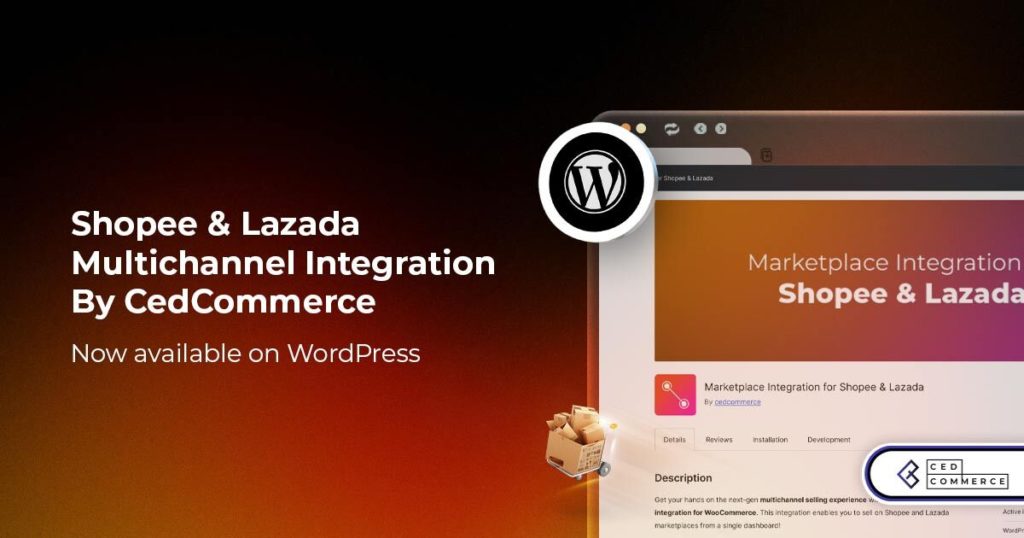
CedCommerce Launches Shopee & Lazada Integration for WooCommerce on WordPress.com