
Inside Walmart’s Creator-Led Social Commerce Strategy: What Sellers Should Learn
Reading Time: 2 minutes Walmart is doubling down on creator-driven social commerce, turning influencer content…

Running short of time? Get PDF of the blog in your mail.
Now that you have built your magento website on your localhost, it’s time to move it to a live server so that you can gain popularity at the global level.
In this article we will guide you to migrate your website from your localhost to live server.
Before we start, just make sure that you are working with a domain. If not then you can buy it from any domain provider.
So let’s get started
Login to the phpMyAdmin account on your localhost using a localhost software. The localhost software can be XAMPP or WAMP or any other localhost software.
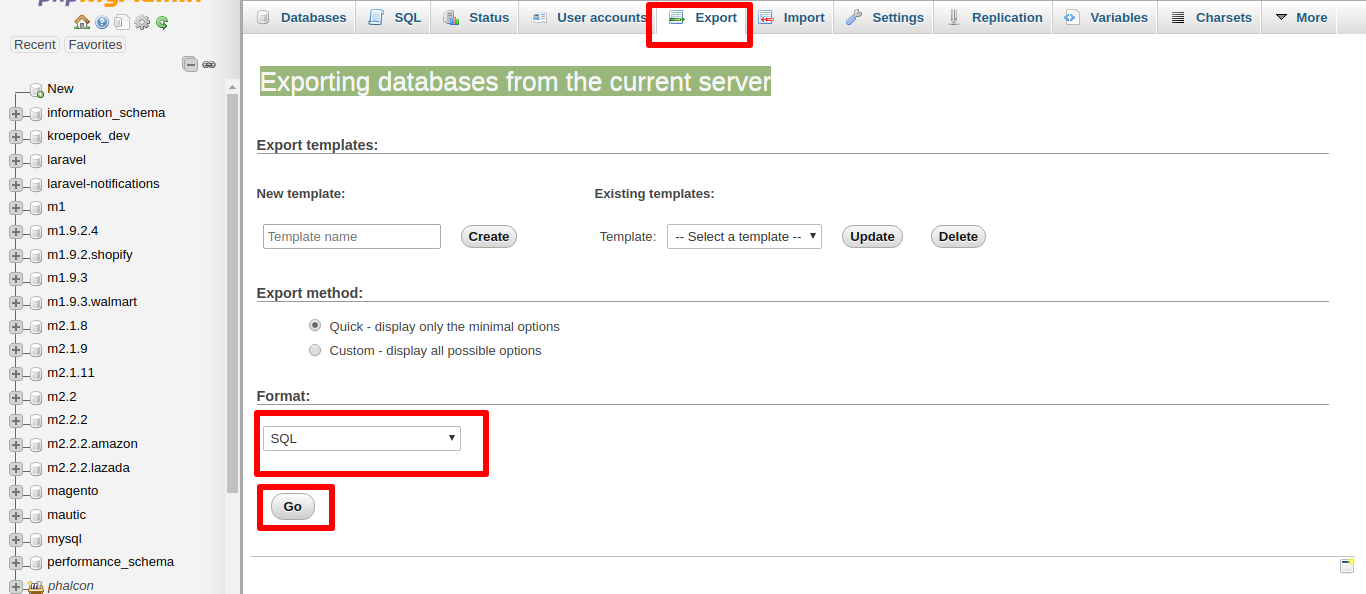
Now open the current database and export it by clicking on the Export option displayed on the header.
Make sure the format of the files should be SQL or ZIP. (.sql or .zip)
Click the Go button.
The database will be downloaded to your PC.
Refer the screenshot
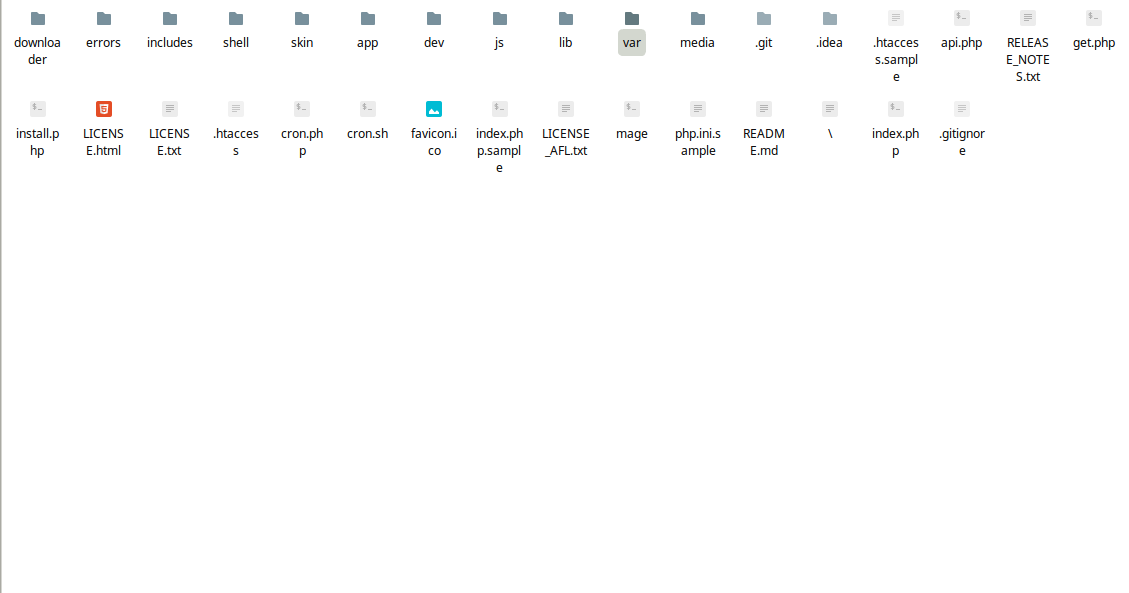
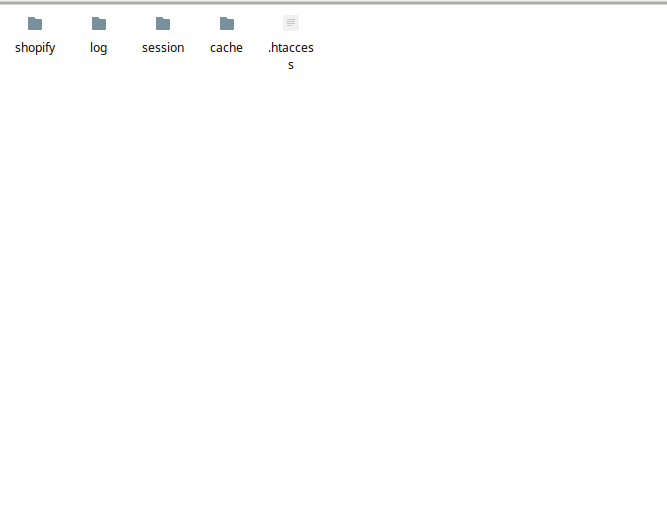
Now go to your localhost and find Magento folders and compress all the files of this folder into .zip format on your PC.
It will look something like this
Refer the screenshot
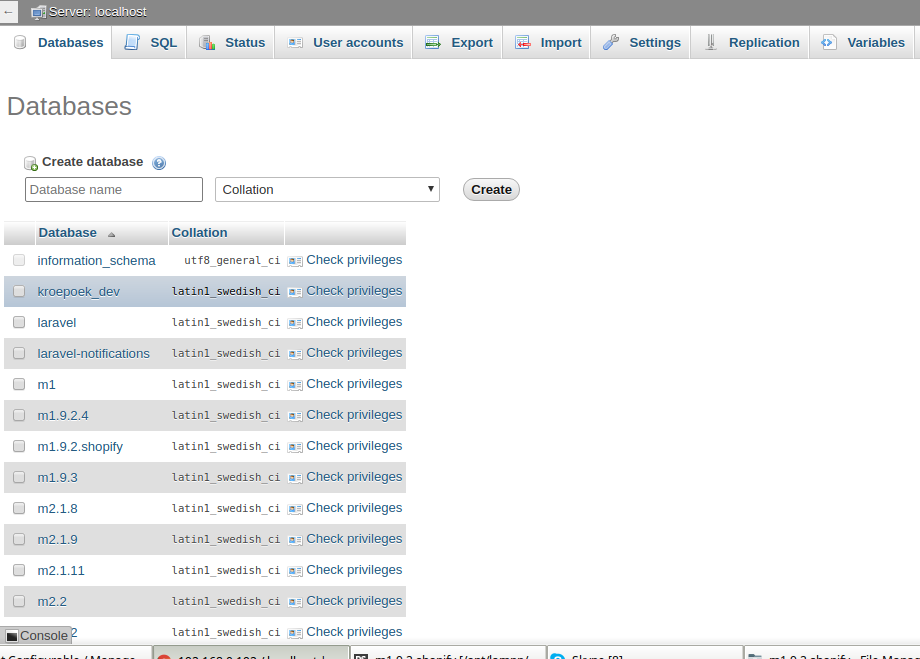
Now login to the phpMyAdmin via control panel of your live server and create a new database by clicking on the New button. Make a note of the database credentials i.e. username and password. Also note down the database name.
Refer the screenshot
Now import the database that you exported on your PC in step 1 to the new database that you created in step 3.
To import click on the Import button on the header. Next click on the Choose Files button and choose the database that you exported on your PC in step 1.
Make sure the format of the file should be .sql (Ex: MagentoDB.sql)
And finally click on the Go button.
Your database will be imported in few minutes.
Refer the screenshot

Now upload the magento zip files that you created in step 2 to the directory of your new domain. Once your upload is done, extract the files there.
Once your magento zip file is uploaded and extracted, you need to make some changes in the local.xml file.
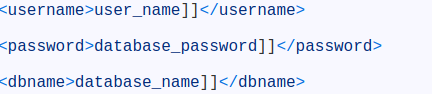
Go to the location app/etc/local.xml and select the local.xml file. You need to change the old information corresponding to your database. The information will be username, password and database name. The credentials will be the one you noted down in step 3.
Refer the screenshot
Make sure you save the changes once it is done.
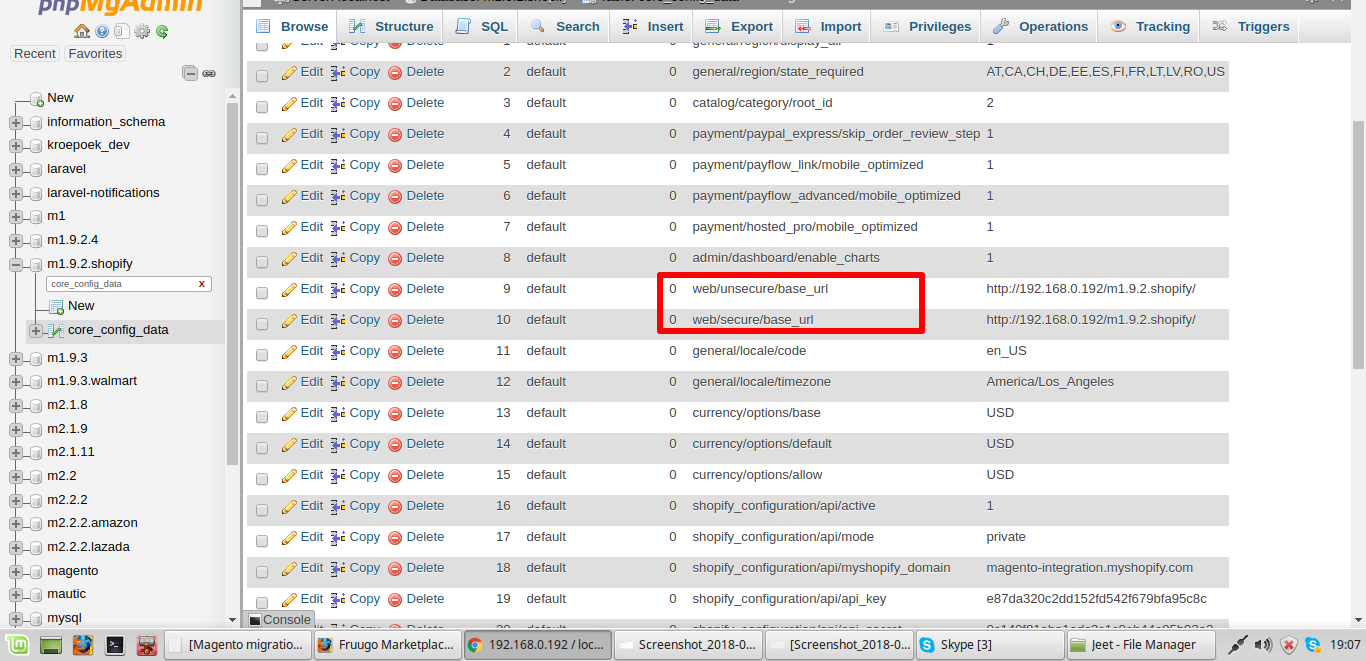
Now go to your Magento database and search for table core_config_data. Replace the localhost URL with your domain name in ‘web/unsecure/base_url’ and ‘web/unsecure/base_url’
Refer the screenshot
Now you need to clear the cache which contains the data related to your localhost. You need to perform this activity so that the cache can have new data related to your new Magento Website.
To clear the cache you just need to go to /var/cache and select all the data and delete it by right clicking on the mouse and selecting the delete option or you can delete it by clicking the red colour cross button with the hover tip Delete.
Refer the screenshot
Your Magento website will be migrated from your localhost to the domain once all the above steps are followed. Open any browser and enter your domain name and press Enter. You can see your website which will look exactly similar to the website that was hosted on Localhost.
That’s all. This article will help you migrate any magento website from your localhost to production server. Keep in mind that you need to maintain a backup of every file i.e. database files and magento files. Follow the steps and your job is done. But still if you face some issue you can come back to us with your questions. Feel free to share your feedback, also you can post your comments in the comments section.
Hope this article helps.

Reading Time: 2 minutes Walmart is doubling down on creator-driven social commerce, turning influencer content…

Reading Time: 2 minutes In a major follow-up to our earlier coverage — “Amazon Confirms:…

Reading Time: 12 minutes From Etsy policy changes, such as fees and payments, to creativity…

Reading Time: 1 minuteDigital Commerce 360 reports that eCommerce accounted for 25% of total retail…

Reading Time: 1 minuteA coalition of 23 WTO member countries, including the United States, Britain,…
Reading Time: 2 minutes Amazon has announced a 3.5% surcharge for sellers using its fulfilment network…
Reading Time: 2 minutes Amazon has officially expanded its free, box-free, label-free returns network by…
Reading Time: 2 minutes Walmart is bringing Sparky, its proprietary shopping assistant, into ChatGPT, marking…
Reading Time: 2 minutes Visa has rolled out six AI-powered dispute resolution tools aimed at…
Reading Time: 3 minutes On March 26, 2026, the European Parliament and the Council reached…

Reading Time: 4 minutes Kanzen Skincare and six other brands are preparing for what is…
Reading Time: 5 minutes When a seller expands to a new Walmart market, the first…

Reading Time: 11 minutes What if reaching hundreds of millions of Amazon customers didn’t mean…
Reading Time: 2 minutes Alibaba’s latest update shows that AI is becoming a much bigger…

Reading Time: 2 minutes A new industry study shows that agentic commerce is moving from…
Reading Time: 2 minutes Amazon has introduced new 1-hour and 3-hour delivery options for customers…

Reading Time: 16 minutes How to find, quantify, and validate winning Amazon products? Amazon product…
Reading Time: 2 minutes Amazon is rolling out a significant update that will directly impact…
Reading Time: 3 minutes Ulta Beauty is preparing to launch a curated storefront on TikTok…
Reading Time: 2 minutes Until now, falling below the 90% OTDR (On-time Delivery Requirement) could…
Wow! This can be one particular of the most beneficial blogs We have ever arrive across on this subject. Actually Great. I'm also an expert in this topic so I can understand your hard work.
https://www.outsystems.com/profile/202227/fisher-christian/
Leave a Reply