
From $0 to $35K Monthly in Under 60 Days: How CedCommerce Built Milky Mama’s Amazon Channel
Reading Time: 3 minutes Section 1: About the Client Milky Mama is a leading maternal…

Running short of time? Get PDF of the blog in your mail.
It’s not long since a newer version of Shopify Metafields has been launched recently. For all those, who still don’t know what are Metafields?
Metafields are an enhanced set of attributes that you can add to your products, making them even more discoverable, descriptive, and easier to track. Now having them on Shopify store is one thing, but what about if you are a multichannel seller. Having already integrated to more marketplaces, Facebook or Instagram for instance would also need to have these metafields in order to provide a seamless customer experience and easy product discovery to shoppers.
With that said, there is an easy and simple setup process for the Shopify metafields. As it is newly announced, many sellers do not know how to add metafields on Shopify, while they are selling on Facebook commerce platforms. This blog is a handy guide to help you with a step-by-step process for the hassle-free creation of Shopify metafields, and understanding it even more.
Shopify Metafield is the additional attribute and data that you can add along with your products. Moreover, the Shopify metafields can help you extend the functionality of your Facebook Shops by providing you with the added details on your products, orders, and collections.
To have a better understanding, here is a simple example, let’s say you have a business dealing in clothing where you have a set of products with well-descriptive information. But here, the customer needs to be informed about the washing instructions. With custom metafields, you can add this set of information that will be displayed on your shop or storefront.
Metafields basically has four parts, which needs to be fulfilled:
When you add Shopify metafields to products available in your stores or shops, it offers you some significant upper hand in product’s reach and visibility. The added fields in the way, help shoppers discover your product easily and know more concrete information around the same. Some of the advantages are:
Being one of the Business Partners of Facebook, you can leverage this opportunity to add metafields on Shopify even from within the Facebook and Instagram Shopping app in a seamless manner. You don’t need to go here and there and follow a bulky process or need the help of any developers for this little magic. All you have to do is follow any of the three methods to enable the metafields on your Shopify store as well as on Facebook commerce platforms.
Before you start with any method, here is an example of adding the metafield for one of the products on a Shopify store. The guide will show you all the different methods to create the metafield on the Shopify store through the App.
Through the Facebook and Instagram Shopping App‘s Product section, you can add the metafields to a specific product.


Once done, your Shopify store will get all the required metafields.
Through Profiling, you can add the metafields to a bundle of products altogether. If you sell different categories of products, you can simply add metafields to the collection of products at once.


Once you save the attributes in the profile, click on “Create Metafield on Shopify”

This will eventually create the metafield on Shopify and you can go to the Shopify Store and check the products for the added Shopify metafields anytime.
Through the Configuration section, you can add metafields to products falling into one product category or the default profile. This default profile may be the same that you used/created while onboarding to the app.

Add upto three categories, your product is falling into For instance, you will be able to see the categories you mapped while onboarding through the app.


This will create the metafields on your Shopify store and you can easily access it by logging into the store.
Once you add the new metafields from the Facebook and Instagram Shopping app, your Shopify store will be automatically equipped with the metafields and it will become visible to everyone.
To view the metafields, you can follow these steps:


From there, you can view all the added information about your product as Shopify Metafields.

eCommerce is revolutionizing in its dimensions, and so are the social media sites. Using Shopify metafields is a simple and easy method to attract more shoppers and leading them to make more purchases. It gives a way forward for the sellers in creating data-rich elements inside their listings and ignite product discovery. To do it effortlessly, you can simply connect with Facebook Business Partners and create Shopify metafields in a seamless way. Have any second thoughts about it? Connect with our experts for a free discussion and put forward all your questions.
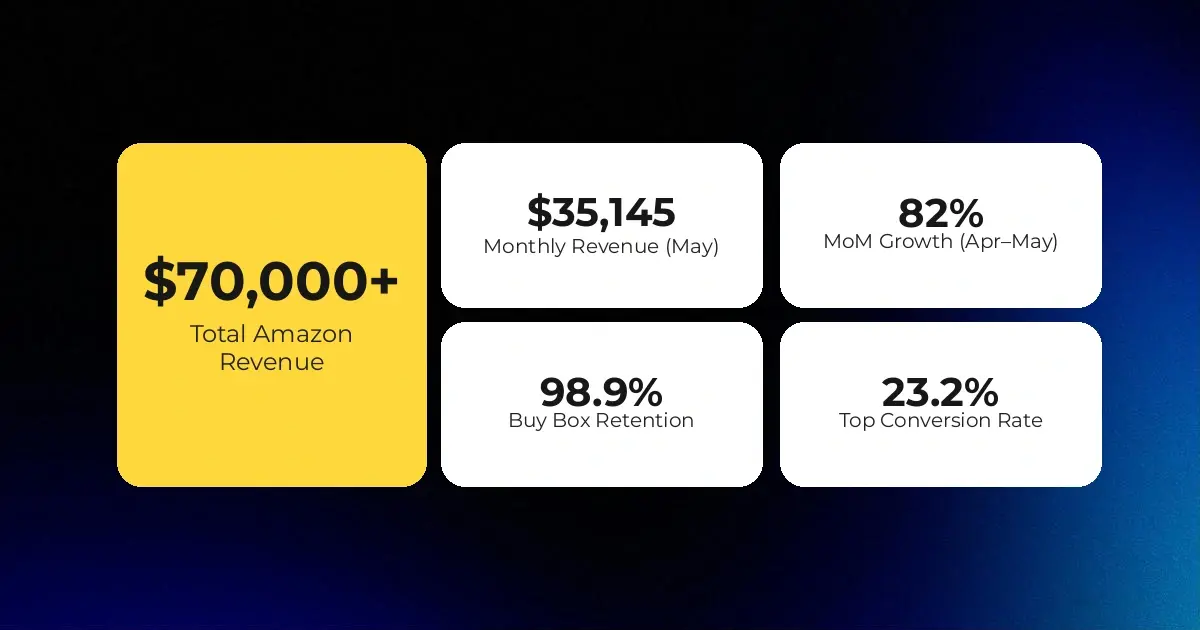
Reading Time: 3 minutes Section 1: About the Client Milky Mama is a leading maternal…

Reading Time: 1 minuteIntro Summary Shopify Scripts stopped executing entirely on June 30, 2026. Merchants…
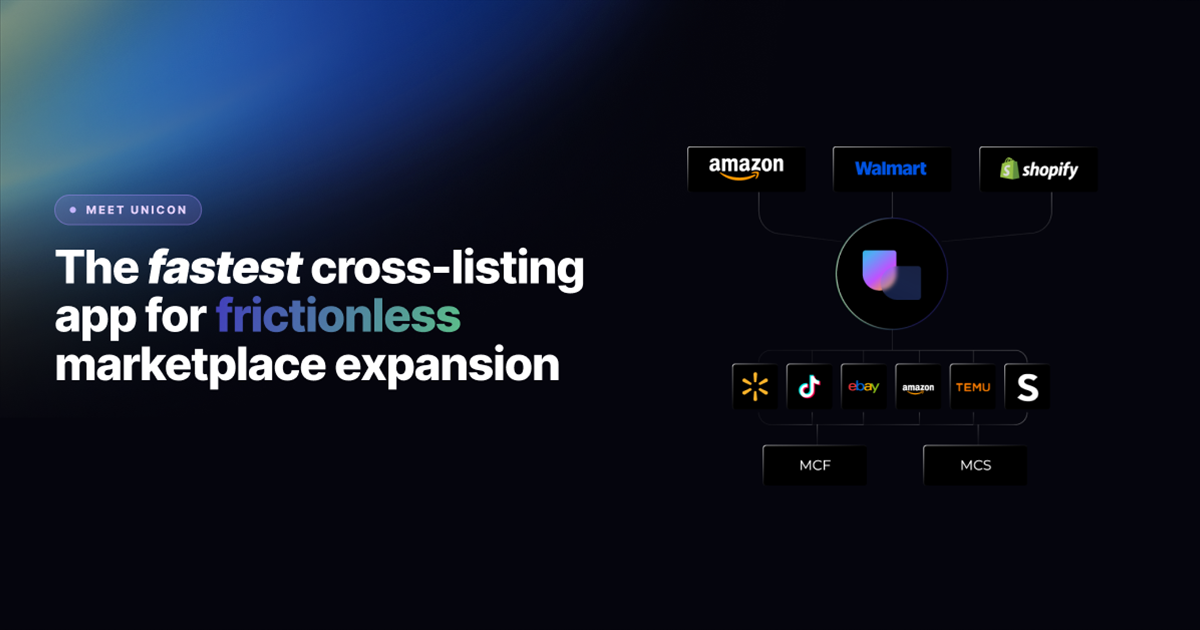
Reading Time: 9 minutes Your buyers are not shopping in one place anymore. They search…
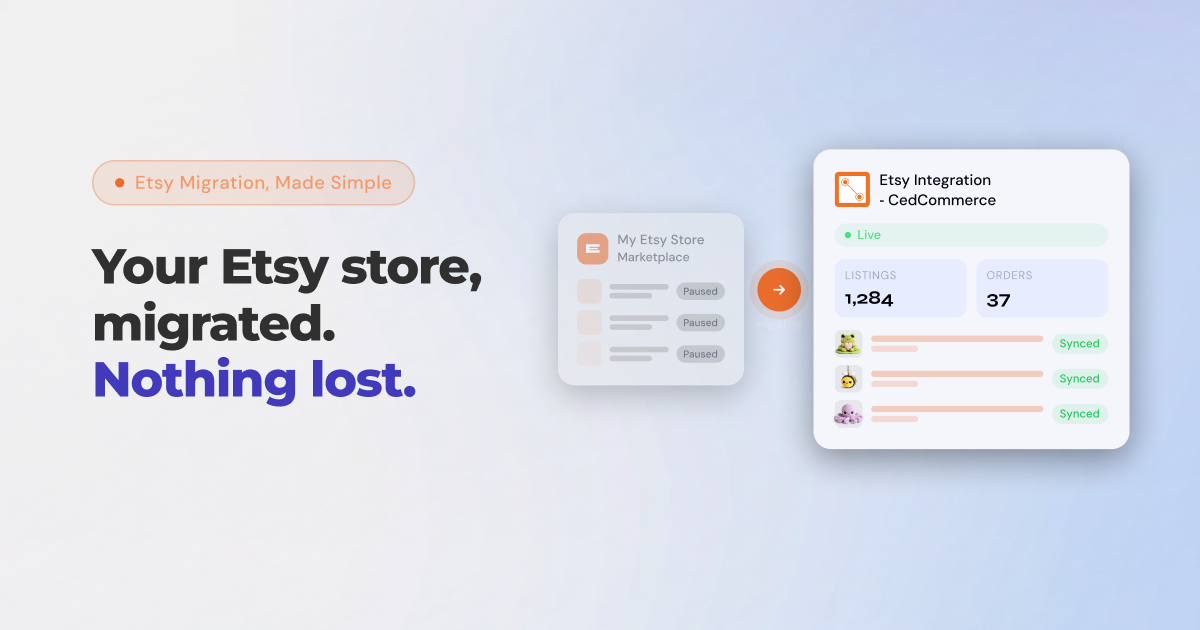
Reading Time: 8 minutes If you’ve been running your Etsy store through Shopify Marketplace Connect,…
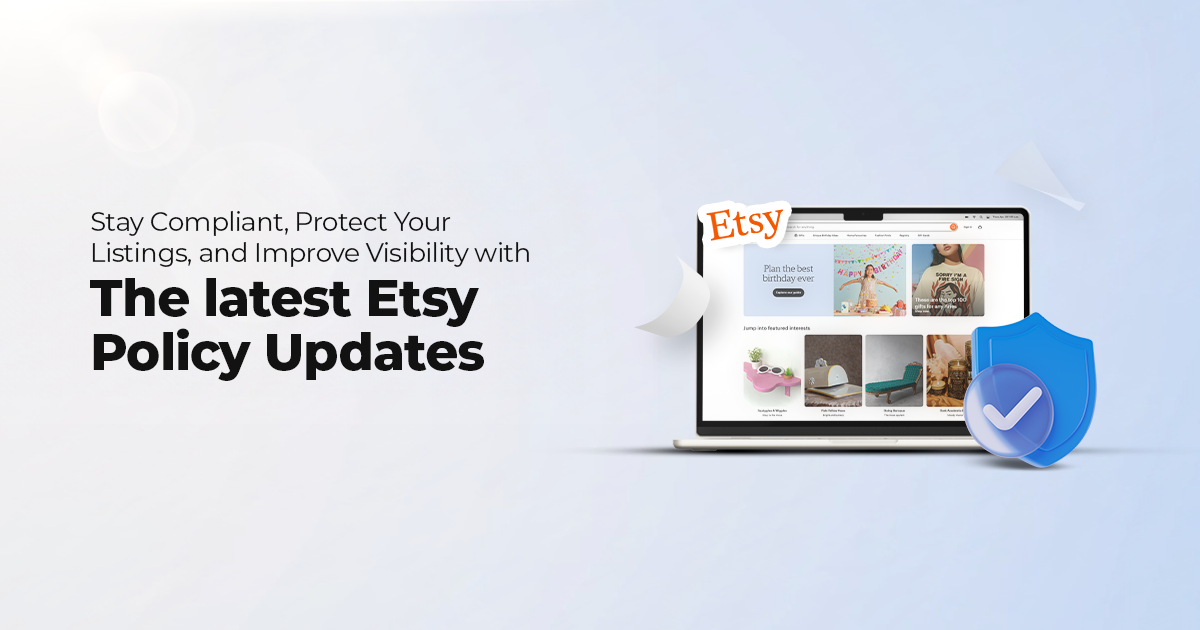
Reading Time: 12 minutes From Etsy policy changes, such as fees and payments, to creativity…
Reading Time: 11 minutes What if reaching hundreds of millions of Amazon customers didn’t mean…

Reading Time: 2 minutes Amazon is rolling out a significant update that will directly impact…

Reading Time: 2 minutes When OpenAI confirmed a 4% transaction fee for Shopify merchants selling…
Reading Time: 1 minuteShopify has announced that offline payments now work across multi-entity Shopify Payments…

Reading Time: 13 minutes Print on demand on Etsy is no longer a low-effort side…