
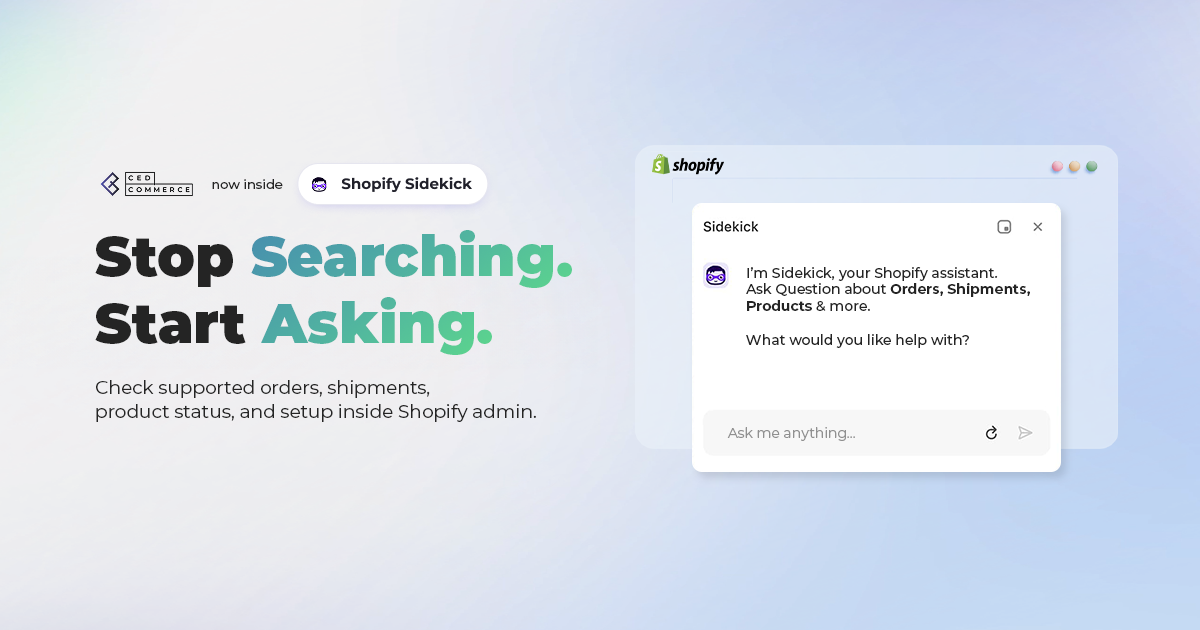
CedCommerce Apps Are Now Available in Shopify Sidekick
Reading Time: 6 minutes Your marketplace stack may be connected, but your attention is still…

Running short of time? Get PDF of the blog in your mail.
Though Sears is battling on the retail front, it’s e-commerce marketplace is still thriving. It attracts over 16 million customers to its marketplace every month. Also, It has 130 + million active members in its Shop Your Way Loyalty Program who makes repeated purchases which makes it an indispensable marketplace to miss. Therefore, selling on sears must rank high on your multichannel strategy agenda.
Recently, Sears announced that it wants to onboard precious metals and shoe retailer to its e-commerce marketplace platform. As a result, national shoe brands like Lucky Brand, G.H. Bass, and Co. and Dockers were added to its product assortment. In the precious metal segment, it wants to invite sellers who trade in gold, silver, platinum, and palladium bullion bars among the other metal list.
Since Sears is an invitation-only marketplace, merchants who want to sell on it first need to get approved. Once your application to sell on Sears is approved, you may list your products on this platform. However, if you operate a Shopify store then selling on Sears becomes easier.
You just need to install the Sears Marketplace Integration app and then you can transfer all the product data from your Shopify store to Sears marketplace and fulfill marketplace orders from Shopify. The app solves all the problems such as struggling with sales, reach of your products, and more. The app also takes care of listing, inventory, order management, shipping management, and other functions.
Sears Shopify Integration App comes with indispensable features that make life easier for merchants selling on Sears marketplace. The features are as follows
This function eliminates all of the hassles of manual work when used with other functions such as:
The app enables you to create listings on the Sears marketplace and also manage them with great ease.
The app facilitates the management of Inventory and maintains the quantity both at Shopify store and Sears Marketplace.
The app enables merchants to handle orders from Sears Marketplace on their Shopify Store
The app is compatible with all the 3P logistics and shipping apps on the Shopify app store.
The app enables to apply promotional pricing to multiple products in one go with the help of Xlsx file. On festive days and special occasions you’d want to offer promotions on various products, well app helps you do that in bulk.
In order to start your journey to sell on Sears from Shopify, you need to get registered on Sears as a seller and get access to the Sears seller portal. You can start by registering through this link. The Sears marketplace seller application form looks like the image below-

Once you have filled all the required details, it might take some time for the registration process. Acceptance of sellers is up to the sole discretion of Sears.
Once you are an approved seller on Sears, the next step is to install the Sears Marketplace Integration app from the Shopify App Store. The page appears as shown below.
Click on Get and login to your store. Then a page will appear for final confirmation of the installation of the app, which is shown in the image below.
To complete the configuration process, Shopify store owners have to provide API credentials from Sears Seller Account for Sears API integration. The seller has to provide the following details.
After retrieving these details, the seller can copy-paste in respective fields on Step 2 (Enter Sears API) in Registration and Configuration Setup.
To retrieve the first detail (Seller ID) go to the Sears seller panel. On the upper right corner click on the arrow icon next to the account holder’s name. A menu will appear that looks like the image below.
Here you can get the Seller ID, copy the value and keep it safe to be used in Step 2 of Registration and configuration Setup.
Now from the same menu, click on the ‘Account Info’ link. A new page will open, scroll down to find the section ‘API Authorization Key’. It appears as shown in the image below.

Now click on the ‘Generate New Key’ button. The key is generated, keep it safe for use in Step 2 Enter Sears API in Registration and Configuration Setup.
Again from the same menu, click on the ‘Fulfillment Locations’ link, and a new page will open as shown in the image below.

Copy the value from Fulfillment Locations as the square in the image above. Keep it safe to use in Step 2 Enter Sears API for Registration and Configuration Setup. Now you have all the details to complete the Sears API integration.
Once you have successfully installed the Sears Marketplace Integration App and retrieved the API keys from Sears Seller panel, the next step is Registration and Configuration of the App, to start selling online with Sears. The step is necessary to establish a connection between Shopify Store and Sears marketplace via App.
To start the process, first, log in to your Shopify Store and go to the admin panel. Then from the left navigation menu, click on ‘App’. A page appears as shown below.
In the right panel list of all installed apps appears. Now click on the ‘Sears Marketplace Integration’. This opens the app page where you can start the Registration and Configuration Setup. Step-1 Registration Page appears as shown below.
You need to fill in all the required details in order to complete the Registration Process. This information is used by the company to understand the profile of Seller. Once filled click on next. The Step – 2 Enter Sears API page appears as shown in the image below.
On this page enter the details corresponding to each field, from the API values that you have retrieved from Sears Seller panel in the earlier step. You already have Seller ID, API Authorization Key, Location ID, and you just need to provide the email address along with how well you fulfill the orders by yourself or by Sears. After filling all the details, click on next. The Step-3 Import Products page appears as shown in the image below.
Let’s take a look at how the ‘Select Products to Import’ option works. Once you select this option, the app fetches all the products in one feed and list them as shown in the image below.
From this page, you can take two actions-
After selecting the products click on Start Import and all selected products will be imported.
Click the next button and the Step-4 Category Mapping page appears as shown in the image below.
You can select the Product Type Shopify by clicking on the add ![]() button. You can also add and remove Shopify Product types from the field. To map it to the respective Sears category, you can select the appropriate Sears category from the drop-down and search with initials.
button. You can also add and remove Shopify Product types from the field. To map it to the respective Sears category, you can select the appropriate Sears category from the drop-down and search with initials.
The offer condition is the condition of the item. It could be new, used or refurbished. While Mature content determines whether the item is for 18 years + audience or not.
Once you are done with category mapping, click on next and you will reach the admin panel of the Sears Shopify Integration App and you are all set to start selling online with Sears.
That was simple and ready to go answer for all your queries about how to sell on Sears from Shopify. Let us do a recap, first, you need to get registered on Sears as the seller. Next, you need to install the app. You also need to retrieve API keys from the Sears seller panel. Then comes the registration and configuration of the Sears Shopify Integration App. Once done with all, you are ready to sell on Sears from Shopify and start a journey towards successful selling.
Reading Time: 6 minutes Your marketplace stack may be connected, but your attention is still…
Reading Time: 2 minutes Intro Summary The European Union’s new €3 customs duty on low-value…

Reading Time: 3 minutes Major global marketplaces, including Temu, SHEIN, eBay, Amazon, and AliExpress, are…
Reading Time: 9 minutes Your buyers are not shopping in one place anymore. They search…

Reading Time: 2 minutes Alibaba’s latest update shows that AI is becoming a much bigger…

Reading Time: 2 minutes Google is expanding AI Mode’s role in eCommerce, pushing shopping deeper…

Reading Time: 10 minutes Did you end 2025 with excess stock and tighter margins, even…

Reading Time: 2 minutes China’s Double 11 shopping festival — the world’s largest annual online…

Reading Time: 2 minutes As global trade enters a new phase of regulation and cost…

Reading Time: 11 minutes Halloween 2025: The Creative Seller’s Goldmine In the age of viral…