Magento-2 Module Creator Service

Running short of time? Get PDF of the blog in your mail.
|
Play Now

|
Module Creator Service by CedCommerce is one of its kind and facilitates the users to have ready-made module. To create a module in Magento one needs to follow the file structure, the hierarchy for creating Blocks, Controllers, Template files, etc. Likewise, in Magento-2 also the File Structure has to be followed to create any module. Moreover, the structure has changed completely from Magento-1 to Magento-2; therefore, problems may arise in retaining this phenomenon.
In this article, I will discuss about the problems generally faced by the developers and how could they be resolved. Let us proceed further!!
Confusing Structure and Repetitive Code
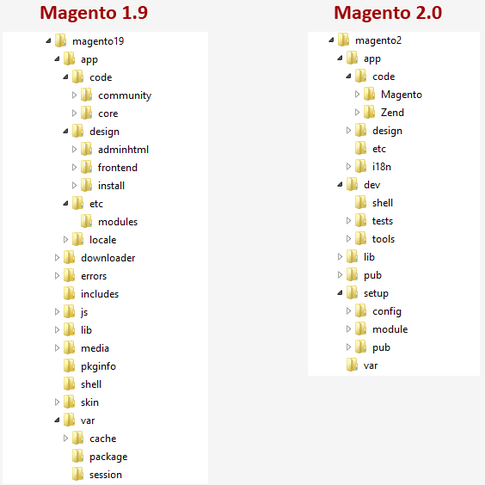
The file structure of Magento-2 seems to be confusing as it has been modified for the ease of the developer. All the module-related css, js, template file, layout file, images, etc now reside in that respective module only. From the image given below, we can clearly make out the difference between the structure of Magento-1 and Magento-2.
Our blog about Magento 2.0 Architecture illustrates it even better.
Whenever we create any module in Magento-1 or Magento-2, we are simply worried of the fact that we will have to create a set of files again and again. Although the content of files differ from module to module but still they have to be created to run the module. These are basic files viz. config.xml, layout.xml, Controller files, Block files, Template files, etc. While developing a module we may find it boring to maintain the structure or write long and repetitive codes. This not only kills time but also slows down the process of development. Novice developers might even think of it as a tough and tedious task. To overcome this problem CedCommerce has come up with a unique and innovative solution.
Problem Resolved with Module Creator Service
To mark the end of these issues, CedCommerce has launched its Magento-2 Module Creator Service whereby the user/developer can just enter his requirements and get his module ready to install. The user-friendly interface of Module Creator Service makes it very easy to use. Just a few clicks and your work is done.
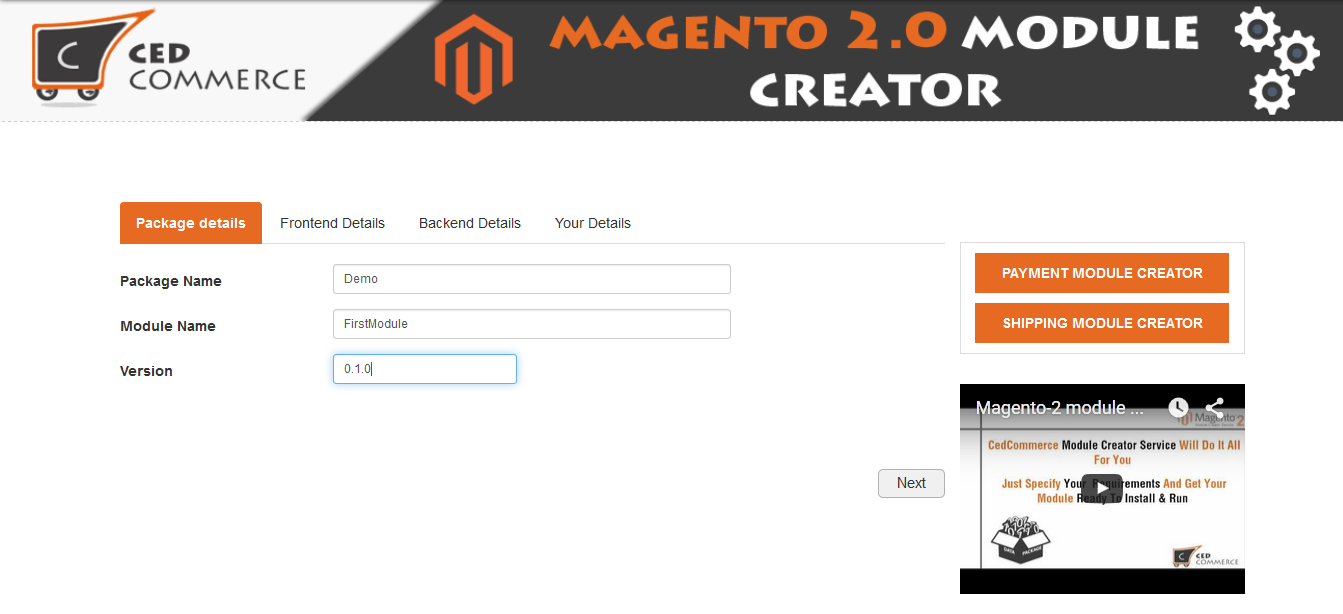
The Package Name field specifies the name of the package; Module Name field specifies the name of the custom module and the Version specifies the version that is to be kept for this package.
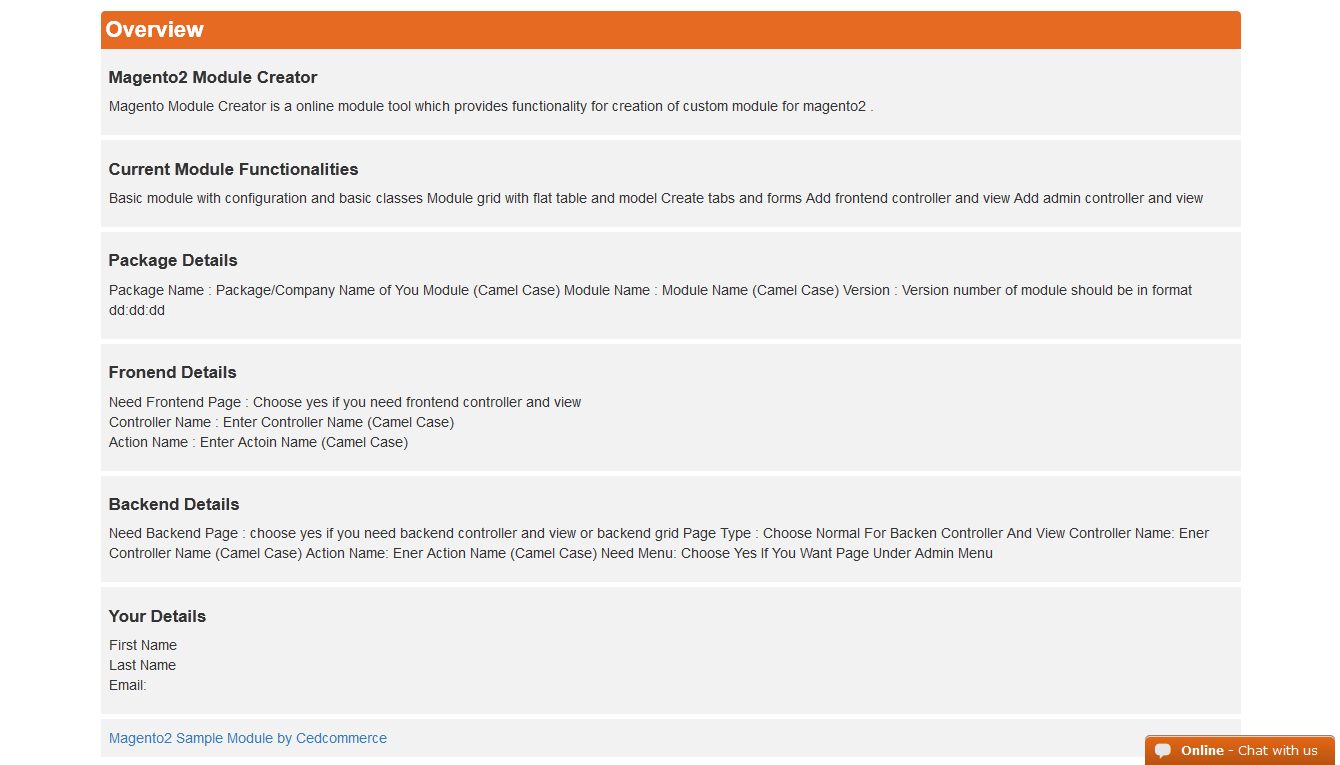
Below this panel, a separate section is provided which contains the description of Module Creator Service, what facilities does it provides, description of all the four tabs listed in the above screenshot and a link to the sample module created by CedCommerce in Magento-2 for the users to have an idea of creating a module in Magento-2.
Read our Blog on HelloWorld Module in Magento 2.0 to learn about how to create a simple HelloWorld Module in Magento-2.
Clicking on the Next button will open the Frontend Details tab which is used to have frontend related information from the user/developer so as to generate the Frontend Controller or frontend page.
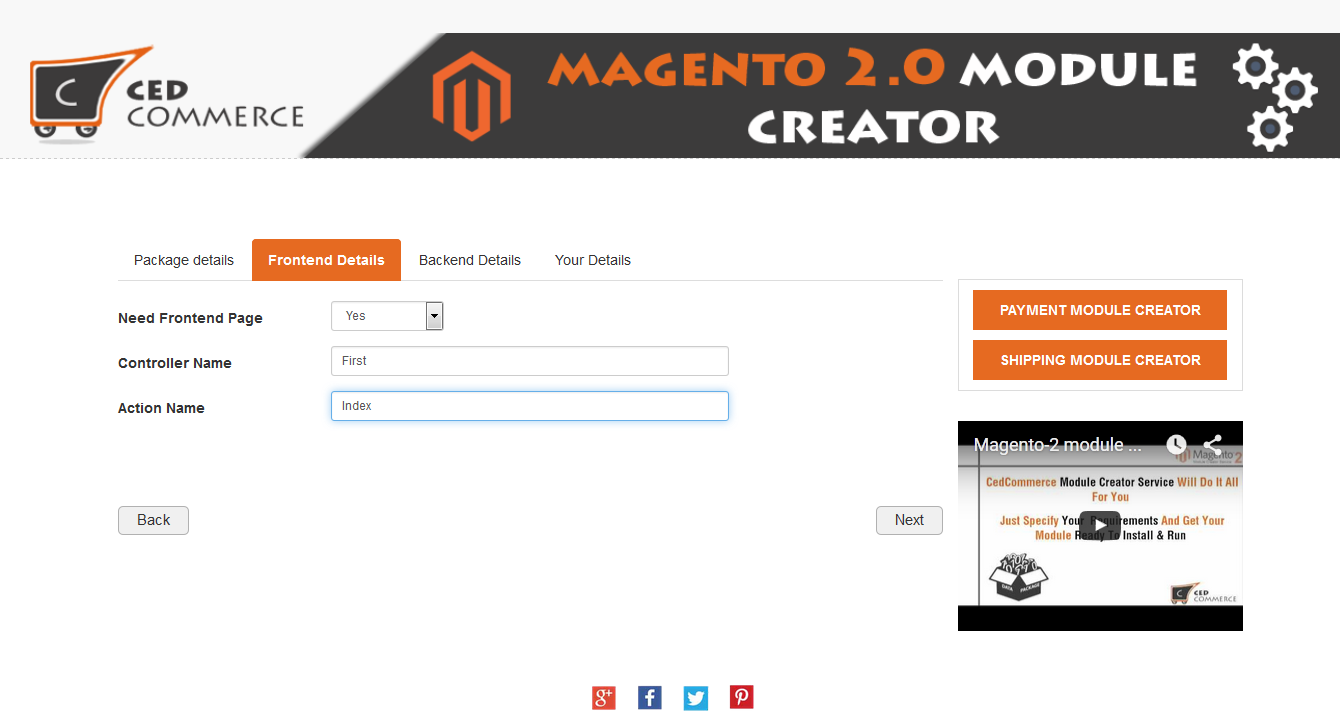
Need Frontend Page field signifies whether the frontend page is required or not. If the user/developer wants to have a frontend page then he can select Yes in that field, specify the relevant Controller Name and Action Name and then click on Next button to go to the Backend Details tab.
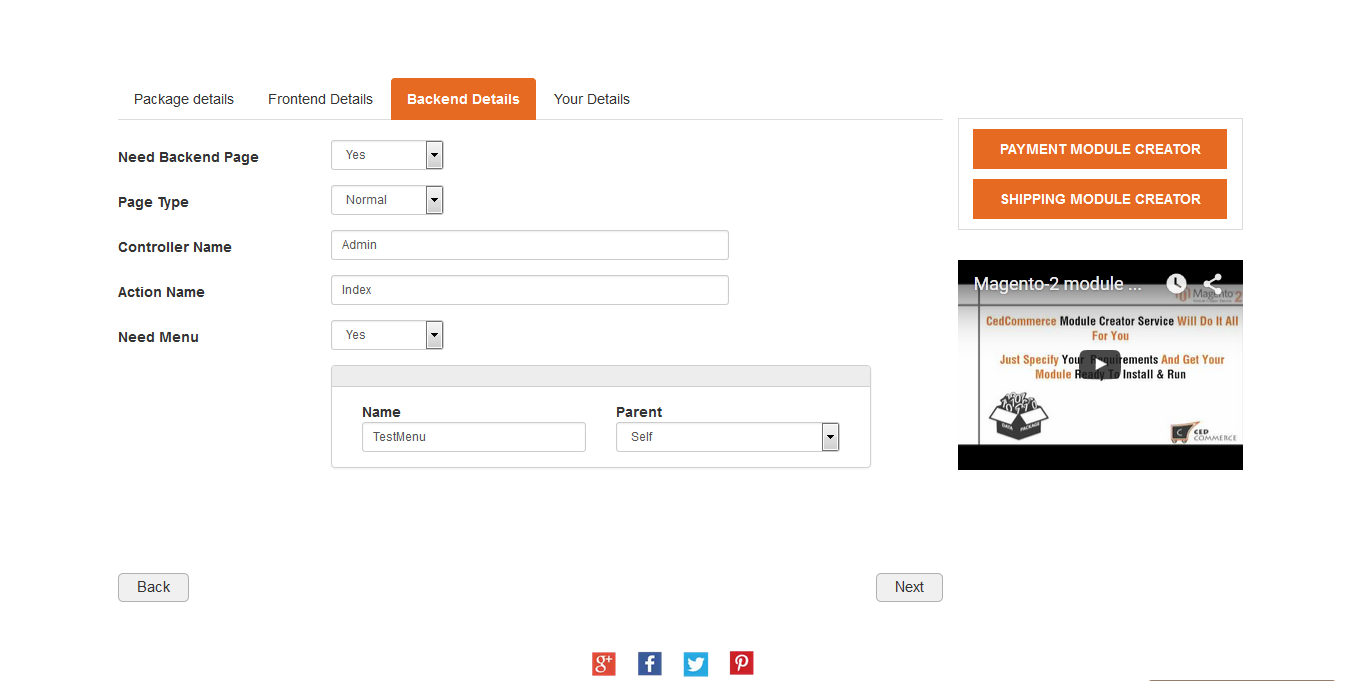
If a backend page is needed then Yes should be selected in the Need Backend Page field. For which ever tab this option will be set to Yes, only those Controllers will be generated. If No is set for Backend Details tab then backend controller will not be generated and similarly for Front Controller as well. The Page Type field lists the type of the page that is to be kept like Normal or Grid. If Normal is selected then a simple page in backend will be generated and if grid is selected then a grid will be generated in the admin panel.
The screenshot given above is for the Page Type – Normal. The name of the Backend Controller should be specified in the Controller Name field and its respective Action in the Action Name field. If Need Menu option is set to Yes, then a table will appear containing the Name and Parent field. The name that is to be kept for the menu should be provided here and the Parent field provides several options like Self, Dashboard, Catalog, Customer, etc. Choosing Self as the Parent will create a separate menu of the module in the menu section and choosing Catalog will make this menu a sub-menu of Catalog. Same phenomenon will be applicable to the other options listed under Parent field.
In case Grid is selected as Page Type then the layout will be of this type
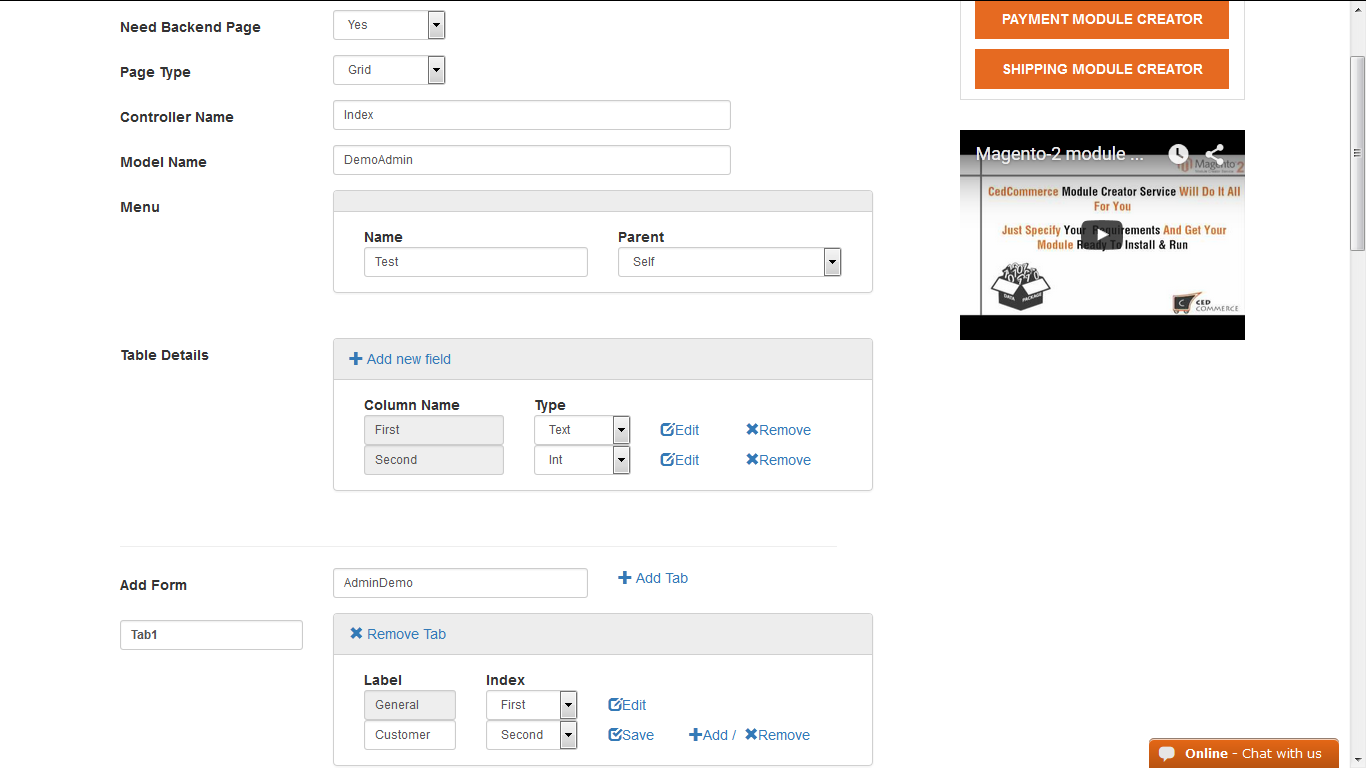
It can be seen here that some extra fields have been added in case of Grid. The Model Name field indicates the name of the Model. The Table Details section lists the Column Name and Type. To add a new field Add new field link should be clicked, followed by entering the Column Name and its respective Type i.e. whether that column should be of Text type or Integer type, etc. After that Save link should be clicked so as to save that column and to delete any column Remove link can be clicked.
If a Form also needs to be added along with the Grid, then form name should be specified in the Add Form field. To add a tab Add Tab link should be clicked and to remove it Remove Tab should be used. The Label field indicates the name of the Tab and Index field indicates the column with which it should be mapped. To add a label Add link can be used and to delete any label Remove link can be used. After filling in all the details Next button should be clicked to open the Your Details tab.
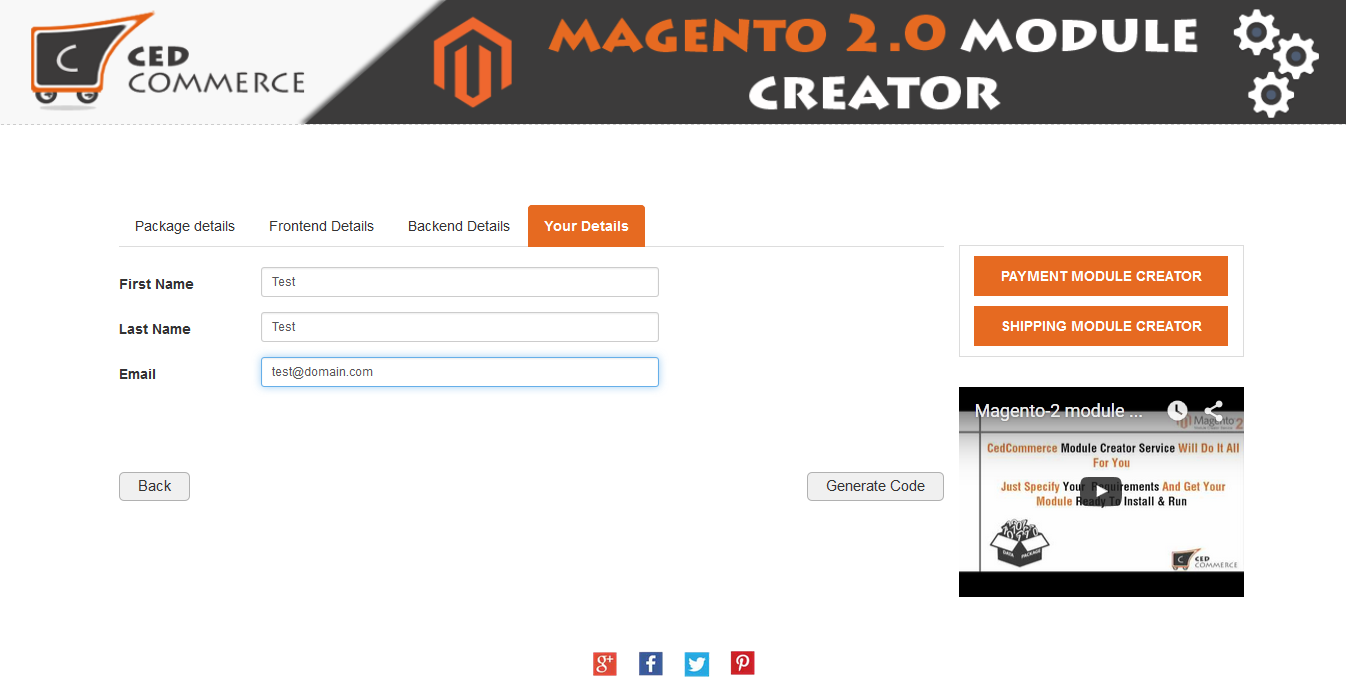
This section as its name suggests is used for entering the details of the user/developer like his First Name, Last Name and Email id. Finally Generate Code button should be clicked to generate the package.
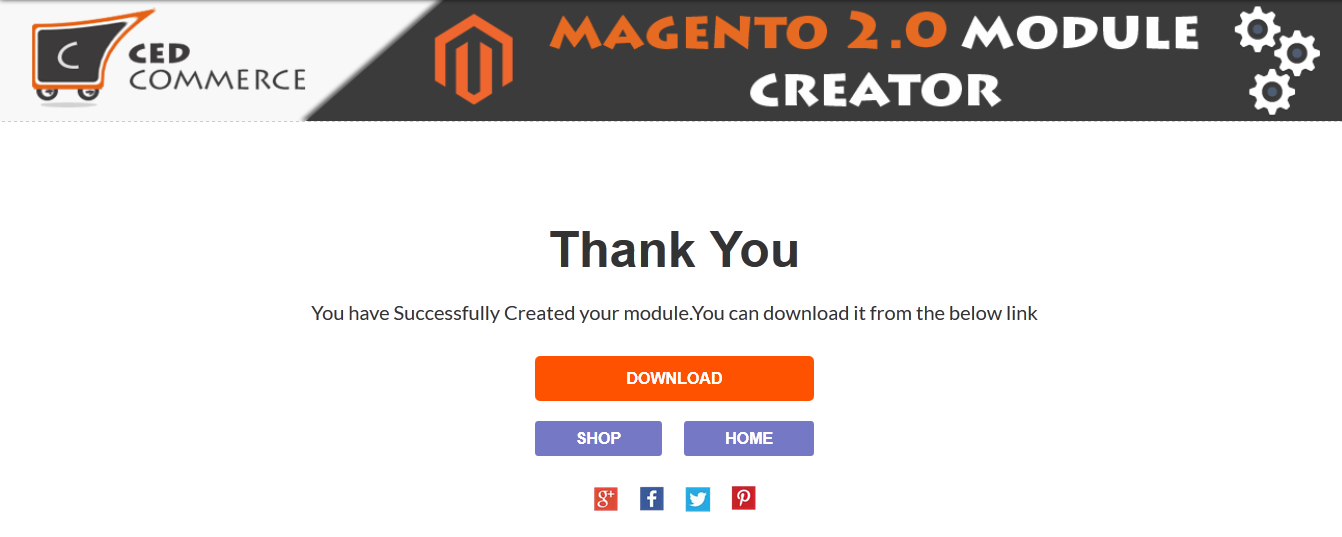
As the Generate Code button will be clicked the user/developer will be provided with an option to Download the package. The Shop button will take him to the site www.cedcommerce.com and Home button will take him to the home page of Module Creator. Below this section the user will also get to see the complete structure of his package and also the code written in the files.
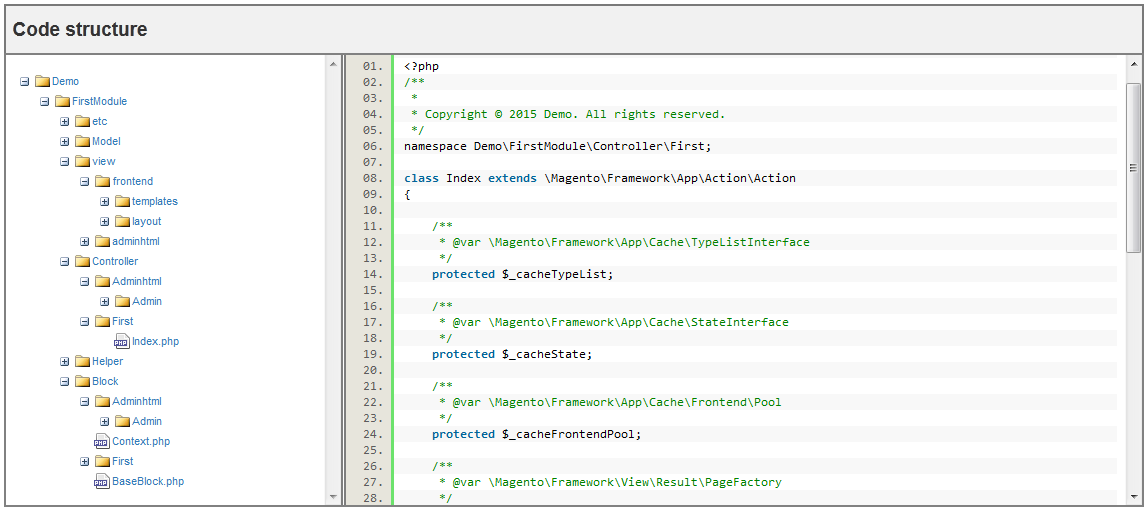
The left panel lists the folder structure and the right panel lists the contents of a particular file which is clicked. Initially, the right panel remains blank but on clicking on any of the files listed in the left panel, that particular file’s content will be listed in the right panel.
Shipping Module & Payment Module Creator
The Module Creator Service comes with two more functionalities – Payment module creator and Shipping module creator. It provides the user a facility to create a custom module of Shipping methods and a custom module of Payment methods. While generating the custom module, two buttons are provided in the right side which will take the user/developer to Shipping Module Creator and Payment Module Creator respectively.
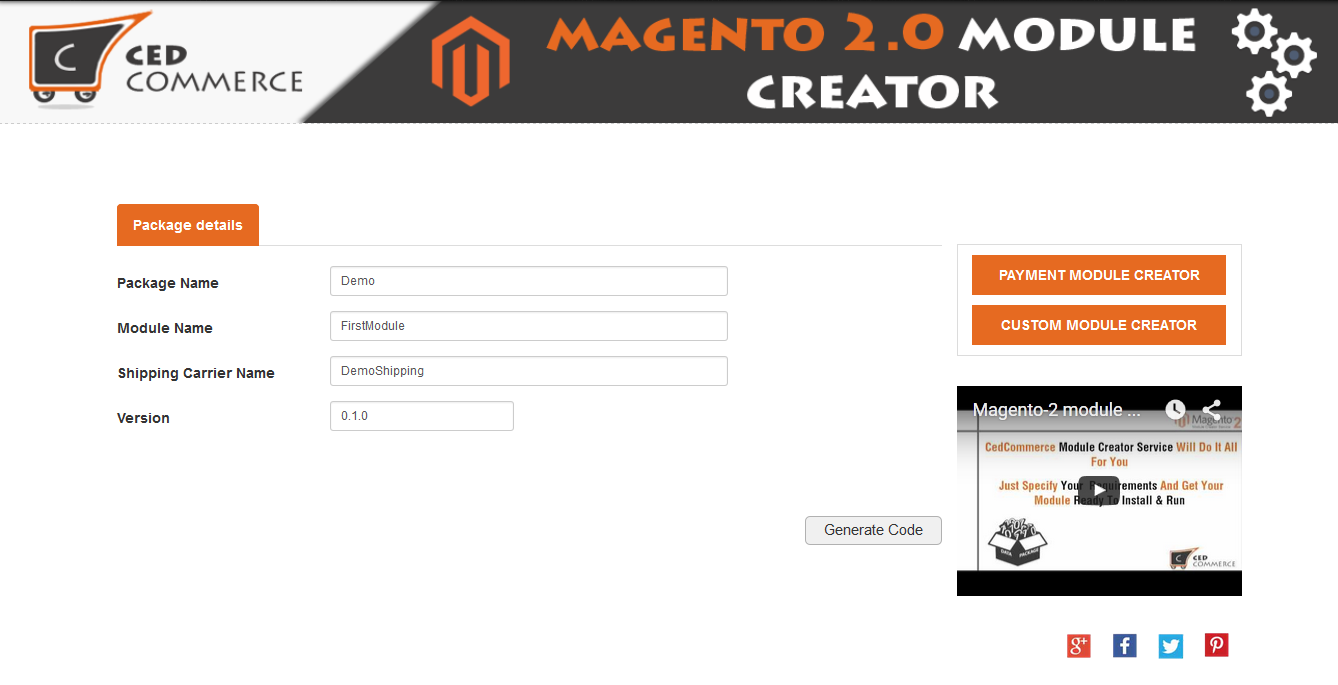 For creating a shipping module, the Package Name, Module Name, Shipping Carrier Name and Version should be provided. The Shipping Carrier Name field indicates the name of the carrier that will be used for shipping.
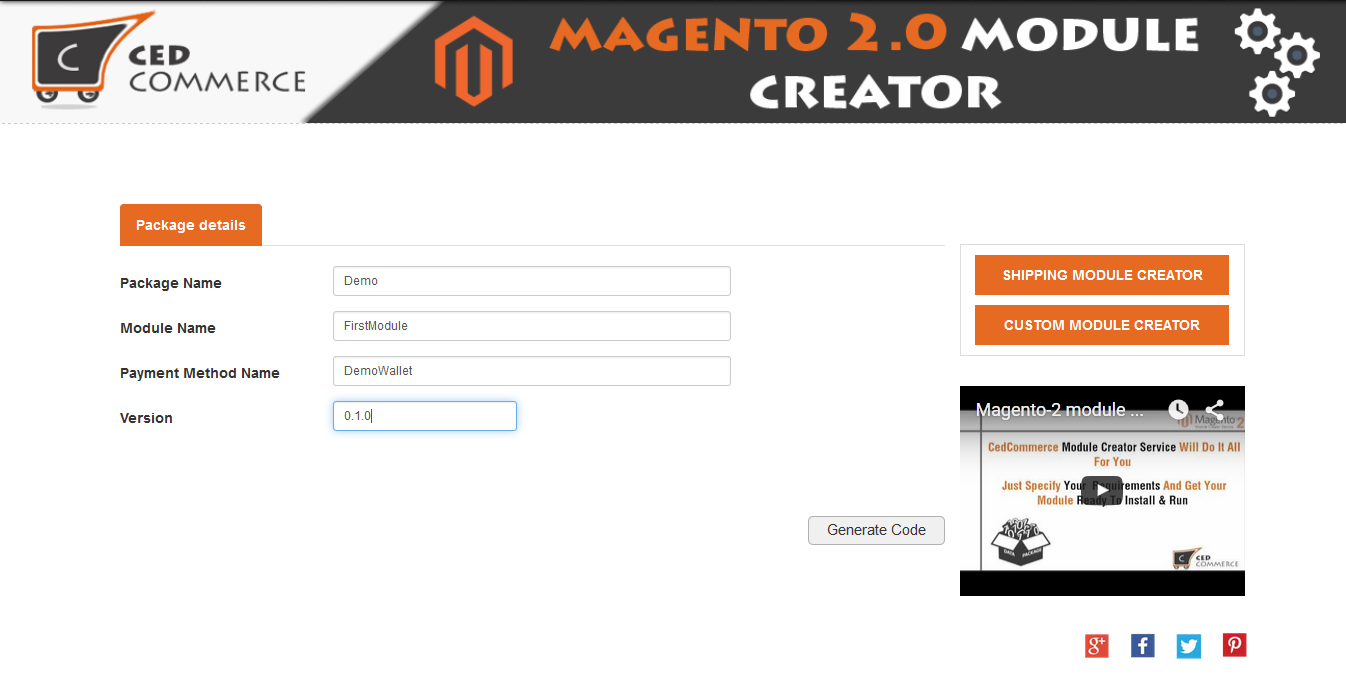 Similarly, for creating a payment module, all the details have to be provided as usual. The Payment Method Name field signifies the name of the method which will be used for payment.
This completes the entire description of the Module Creator Service.
Conclusion
I have tried to elucidate all the points related to Module Creator Service. Magento-2 Module Creator Service has really come as a solution to all the problem discussed in this article and has provided us a means to speed up our tasks.
To get a more practical experience related to the working of Magento-2 Module Creator Service and how to use it, have a look at this video, and if you still face issues, you can also Hire Magento Developers to ease out the process of constructing storefront.
Try out our Module Creator Service today!!
CedCommerce always keeps room for improvement and always comes up with regular upgrades of all its products. The products from CedCommerce developed in Magento-2 include Refer a Friend Module, Premium Matrix Rate, Blog Extension, Magento2 Developer-Debug Tool, and many Magento services. Not only in Magento-2 but plenty of products are developed in Magento-1 as well which will transform your E-commerce store into a multi-vendor store. You can also find CedCommerce extensions and addons on Magento Connect.
For more details, please visit www.cedcommerce.com.
How do you like the POST? Feel free to express your ideas with us in the comment section. Any suggestions or opinions would be greatly appreciated 🙂
If you like this post, share it with your friends!!
Dinesh
Hi ced,
I tried your module creator. it’s buggy and gave error message. Instead of giving the module.
could you people fix it?
Thanks
Dinesh
Simo
Greetings from California! I’m bored to death at work so I decided to check out your blog on my iphnoe during lunch break. I enjoy the info you provide here and can’t wait to take a look when I get home. I’m amazed at how quick your blog loaded on my phone .. I’m not even using WIFI, just 3G .. Anyways, superb site!
Justin Williams
Nice work. Clearly explained about the module creator service in magento