
Magento 2.0 Installation Guide For Windows

Running short of time? Get PDF of the blog in your mail.
|
Play Now

|
This blog was published when Magento 2 was in beta phase. Now that
extended version is available, the blog explains how to download
Magento 2 in Windows
This blog explains the entire process of downloading Magento 2 and encompasses every important element of the downloading process so much so that it also explains the common errors (during downloading) and their
rebuttal.
How it’s better
The magento 2 version is better for merchants. It has significant improvements from its predecessor in User Experience, accurate and updated functionalities according to the latest industry trends. The prime focus is
to make navigation easier, hence experience enriching.
So let’s start the journey with improved installation User Interface.
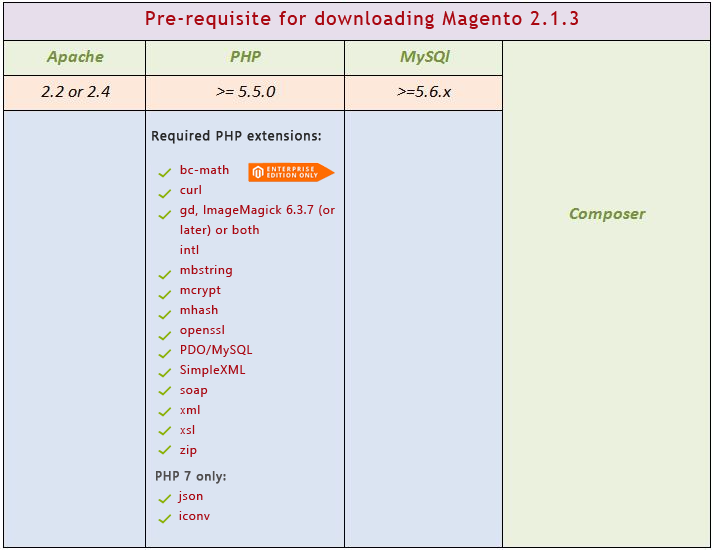
Before we proceed ahead with installation, some extensions are needed to be installed, and following is the list of extensions to be downloaded.
Lets start (for Windows)
-
Install Xampp
1.1 Download it from apachefriends.org
1.2 Run the setup and follow installation.
1.3 Now, you need to enable the below extensions
Before proceeding ahead, it is essential to inform you that there are certain errors that you can face while Magento 2 installation. So here is the list of probable Magento 2 errors and troubleshooting
1.3.1 Openssl
a) always_populate_raw_post_data error in Magento 2.0
One of the most common errors, it can happen due to mis-configuration in your php.ini file. To resolve this error, Find PHP folder inside the Root Folder.
In Xampp, you can find it in xampp\php\php.ini, once you find the php.ini file, Search for the always_populate_raw_post_data error.
Once you find it, it would be displaying like:
;always_populate_raw_post_data = On
Now comment (remove semi colon) in front of the code line and replace On with -1, Now the final code would display similar to this:
always_populate_raw_post_data = -1
b) extension=php_openssl Missing Error is Magento 2
Common error found due to php exptension being off/commented. To resolve this error, Find PHP folder inside the Root Folder.
In Xampp, you can find it in xampp\php\php.ini, once you find the php.ini file, Search for the extension=php_openssl error. Once you find it, it would be displaying like:
;extension=php_openssl.dll
Now comment (remove semi colon) in front of the code line the final code would display similar to this:
extension=php_openssl.dll
1.3.2 Intl Error
a) php_intl.dll PHP missing extension error
Another common error occurring due to php exptension being off/commented.To
resolve this error, Find PHP folder inside the Root Folder.
In Xampp, you can find it in xampp\php\php.ini, once you find the php.ini file, Search for the php_intl.dll error. Once you find it, it would be displaying like:
;extension=php_intl.dll
Now comment (remove semi colon) in front of the code line the final code would display similar to this:
extension=php_intl.dll
2. Install Composer
Composer is an application-level package manager for the PHP programming language that provides a standard format for managing dependencies of PHP software and required libraries. (source wikipedia)
2.1 Download composer file composer-setup.exe
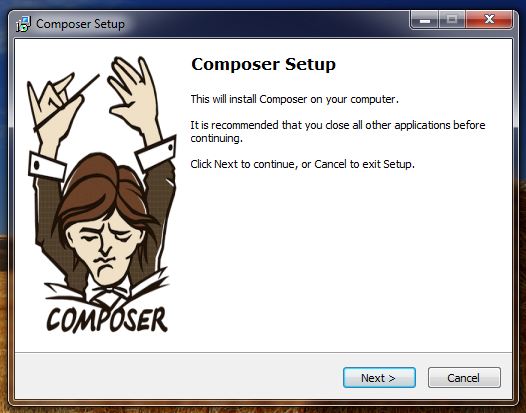
2.2 Run Composer-Setup.exe
2.3 Follow steps below
2.3.1 click next button
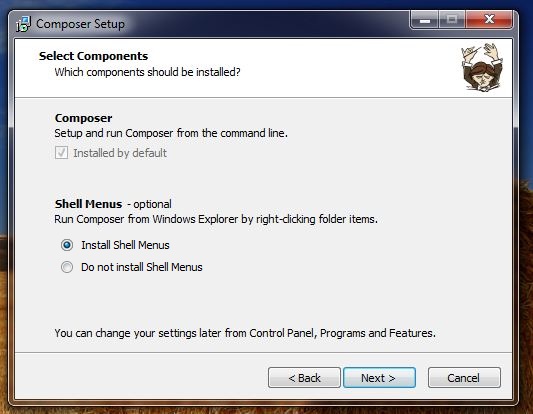
2.3.2 Check “Install Shell Menus” and Click on next button
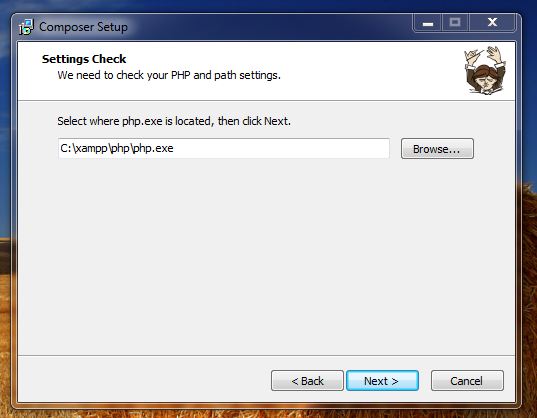
2.3.3 set your php.exe path, as shown below and press Next button
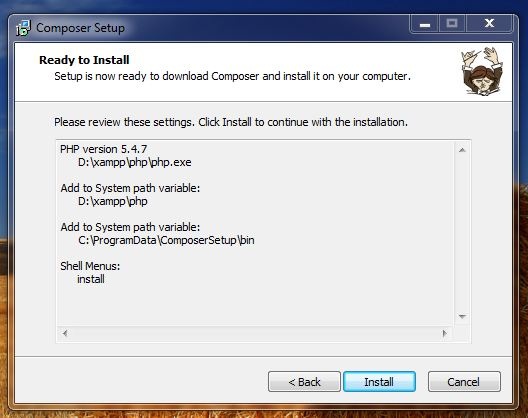
2.3.4 press install Button
2.3.5 press next
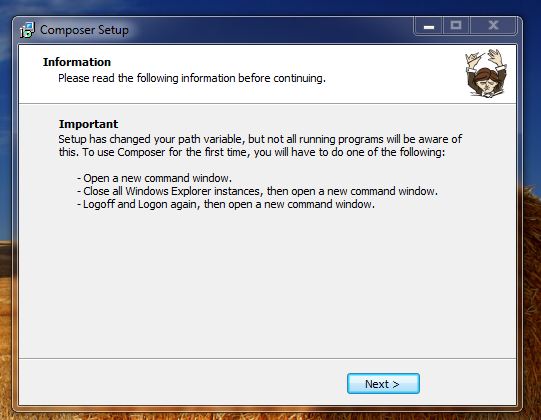
2.3.6 press Finish button

LET’S START THE INSTALLATION
Now, that all the pre-requisites for Magento 2.0 installation is fulfilled. Let’s start the installation process installation
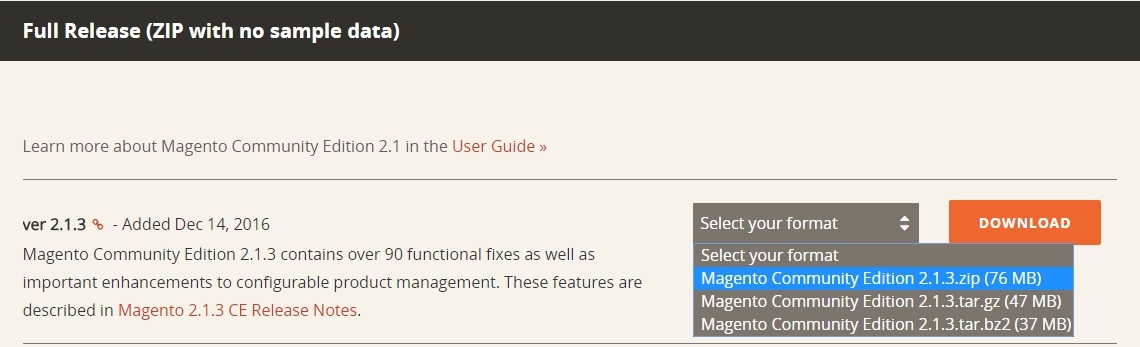
Download Magento community edition 2.1.3.zip (76MB)
Extract- Magento Community Edition 2.1.3.zip in xampp\htdocs\magento2
Open cmd (win key+R , type “cmd” , press “OK” ) and run below command
– scd <full path upto magento2 directory>
e.g C:\xampp\htdocs\magento2

– enter command “composer install”
![]()
wait till command line stops progress
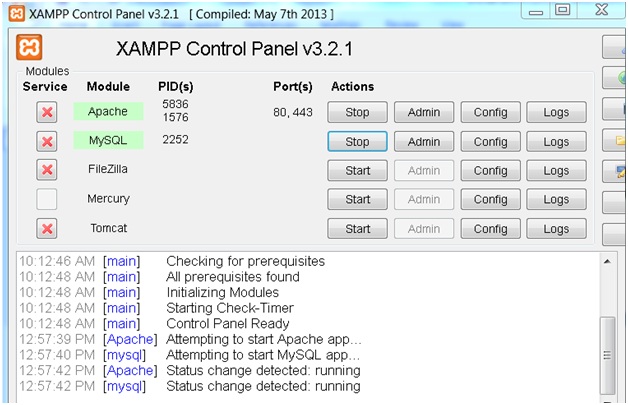
Now open your xampp control panel
Start apache and mysql
Configure apache and mysql security (Optional)
Now open browser and enter url https://localhost/xampp/ and Click on security tab
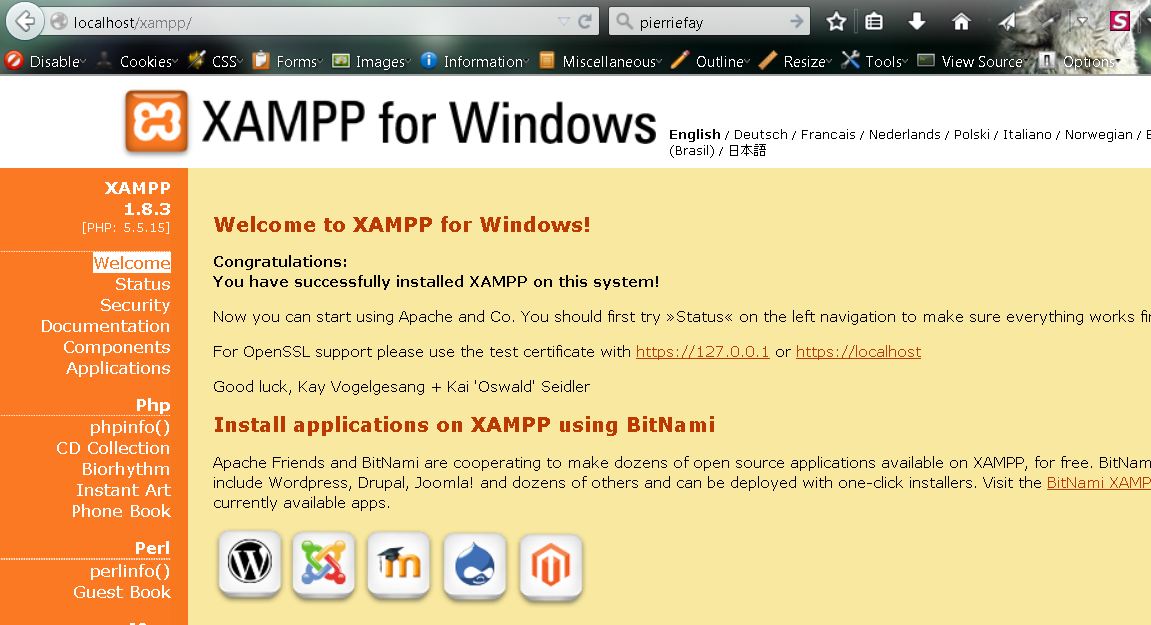
Click on link showed in below image
-
Enter password and obviously remember it as will be needed
later
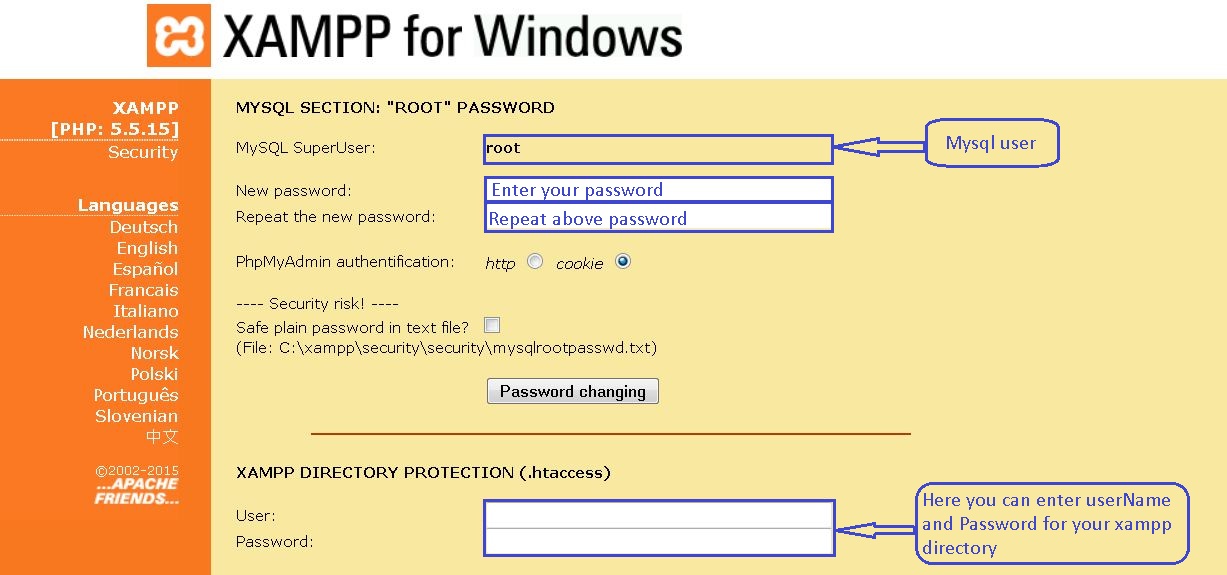
-
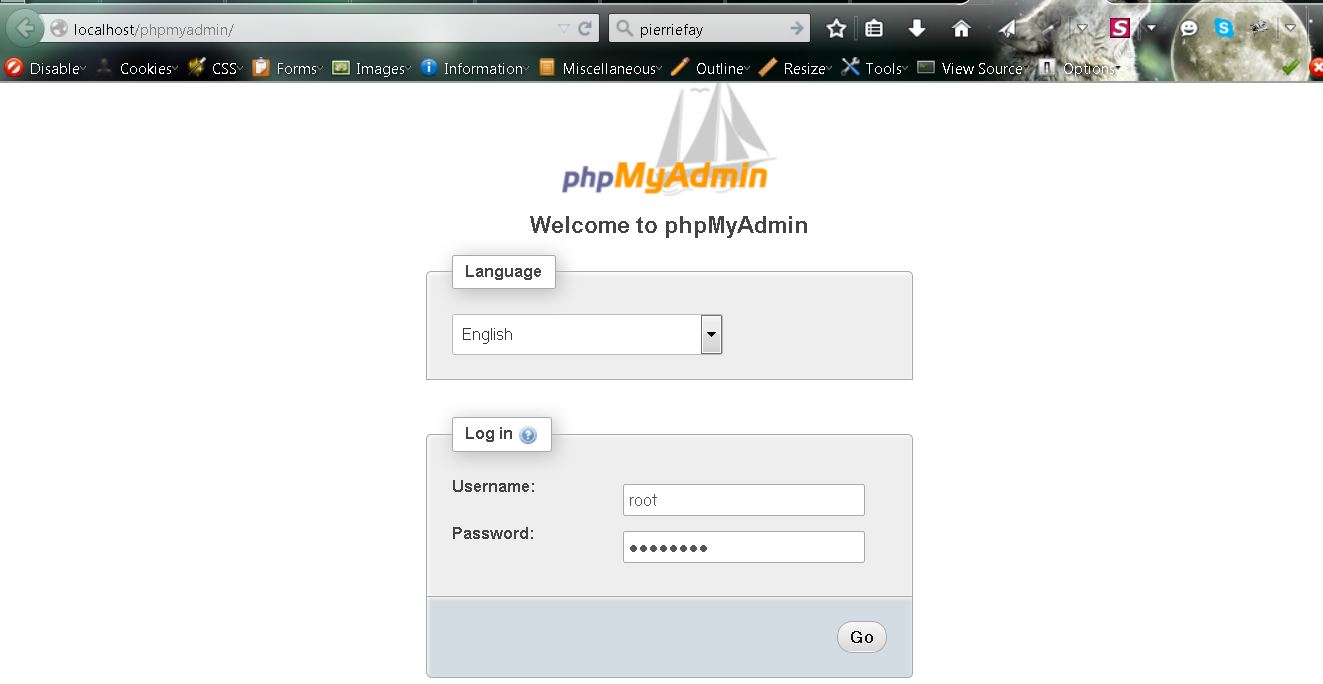
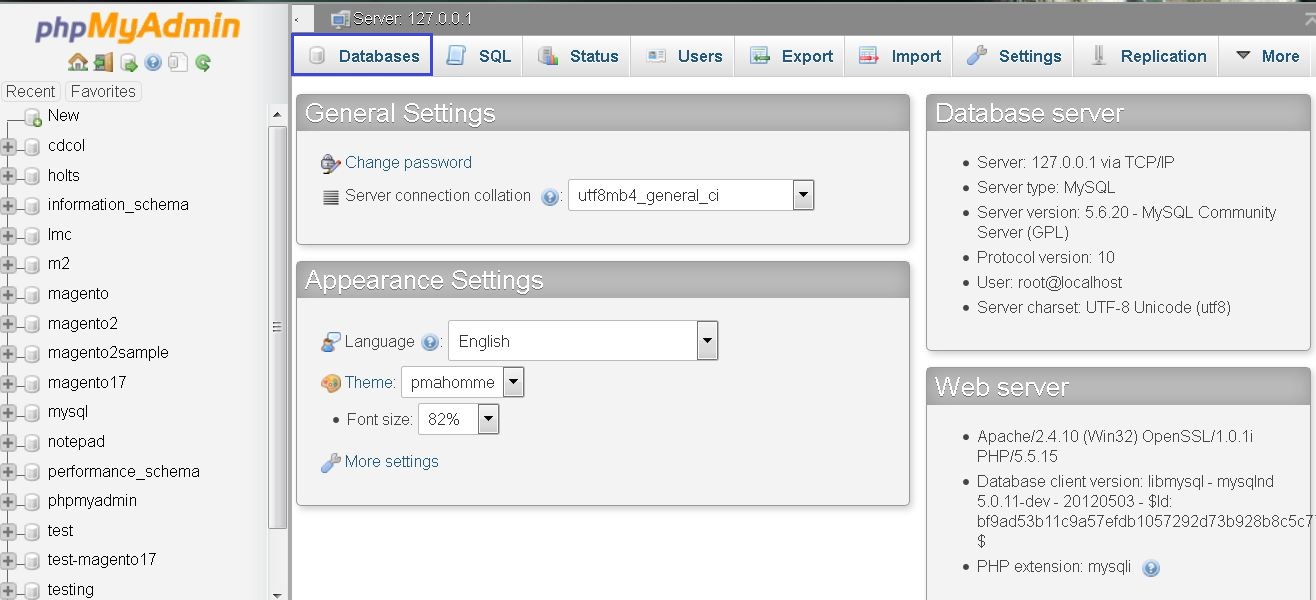
Move to phpmyadmin (https://localhost/phpmyadmin/)
-
Enter user name and password (created in above step)
and move ahead .
-
-
Create new database
-
Click on “Databases”
-
Enter DB name and press “Create”
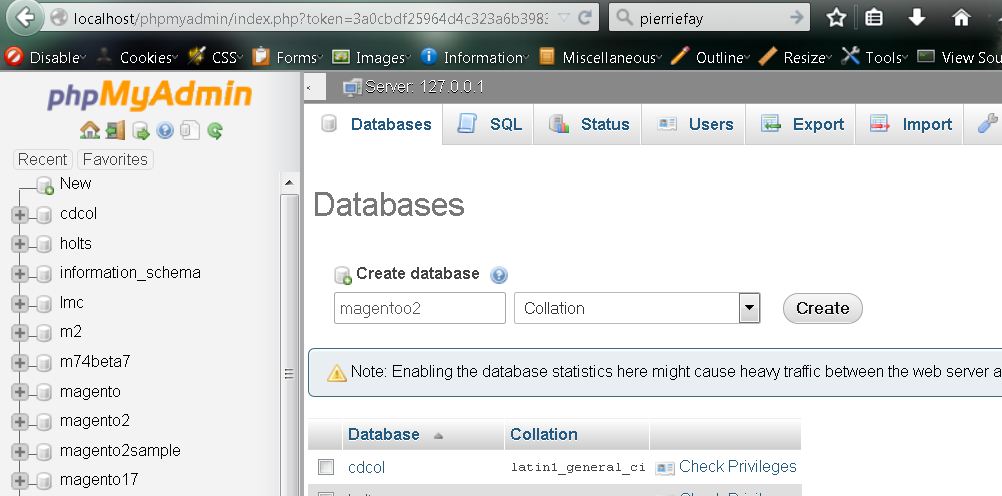
-
-
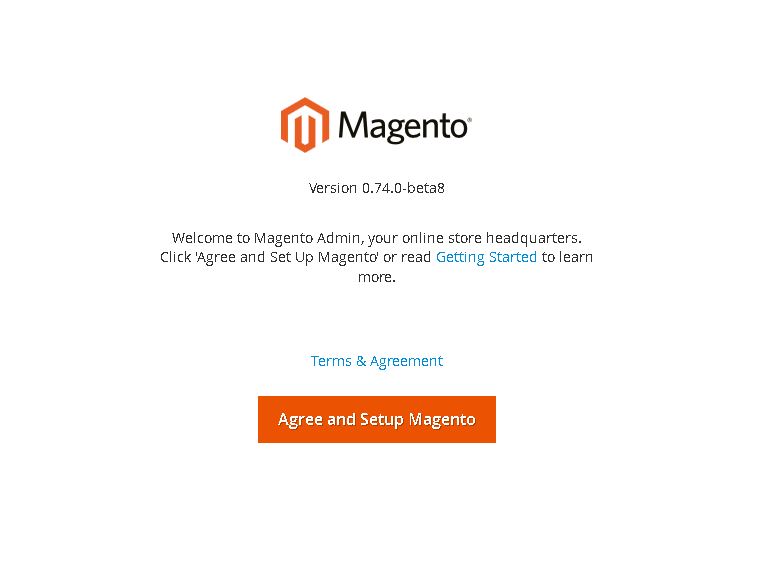
Open Magento base url in browser https://localhost/magento2
-
If wanna read (;P) terms and conditions then click on
“Terms & Agreement”
-
Click on “Agree and Setup Magento”
-
Upon pressing “Start Readiness Check” button, magento
will check php version and extension compatibility.
After that proceed with next button
-
Fill DB Details and press next button
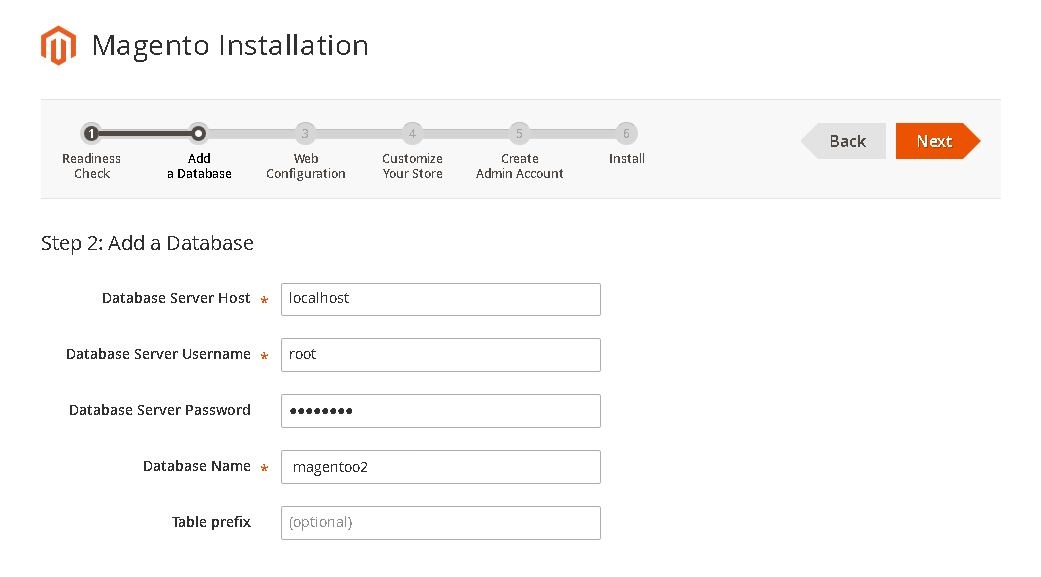
-
Set up frontend and admin URL as indicated below

-
Set up time-zone, currency and language
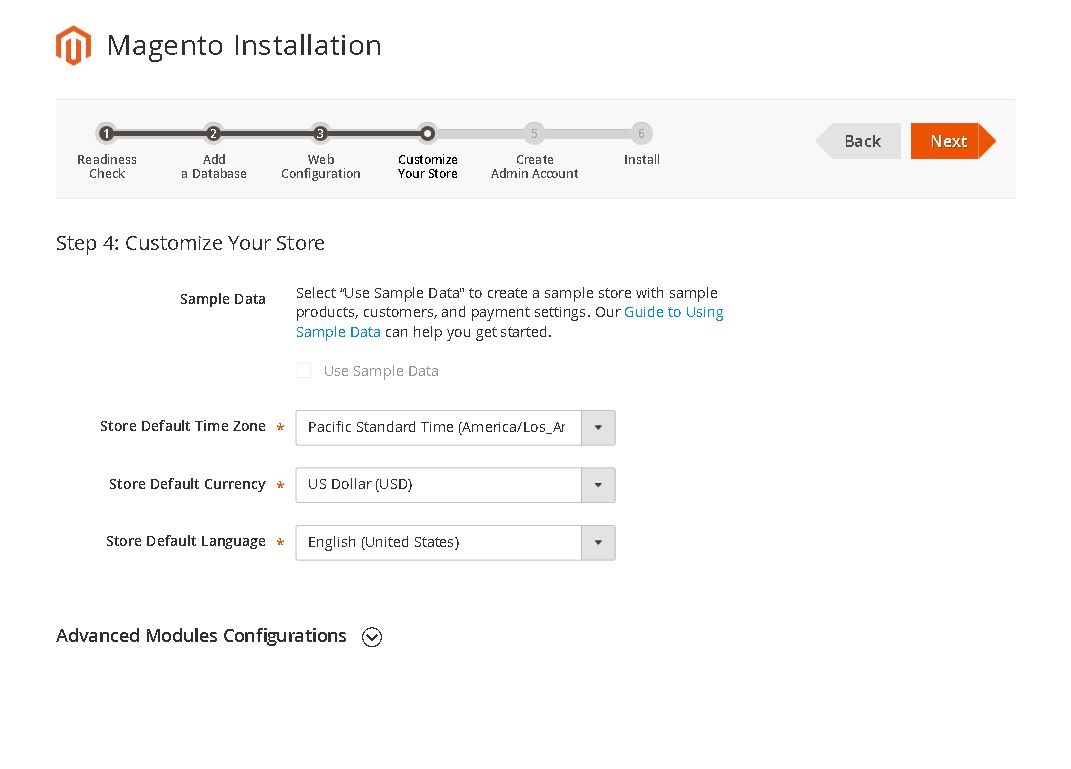
-
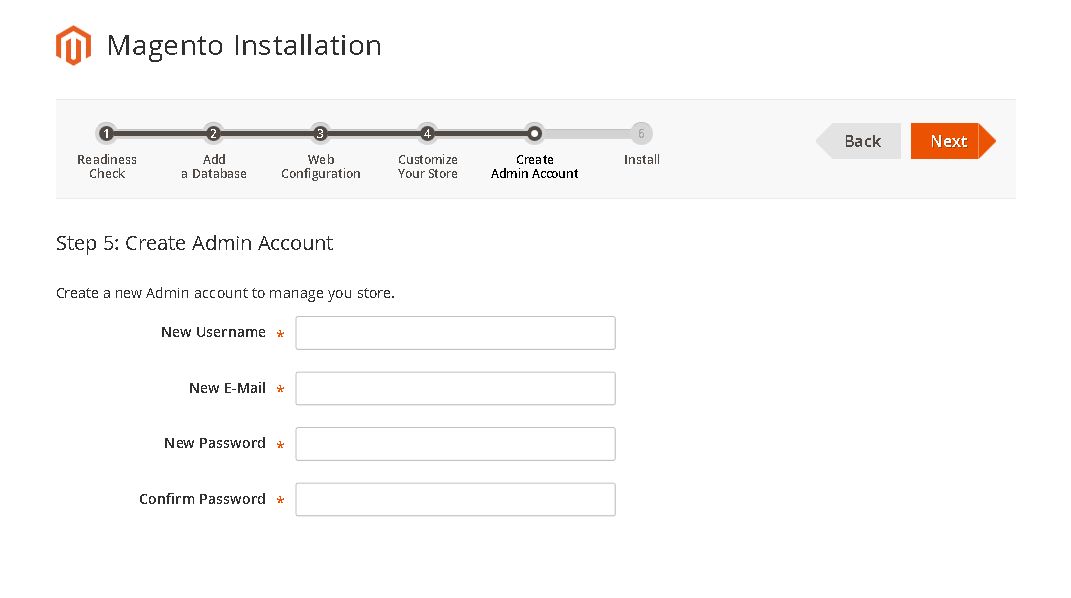
Enter admin user details
-
Finally proceed with “Install Now” …
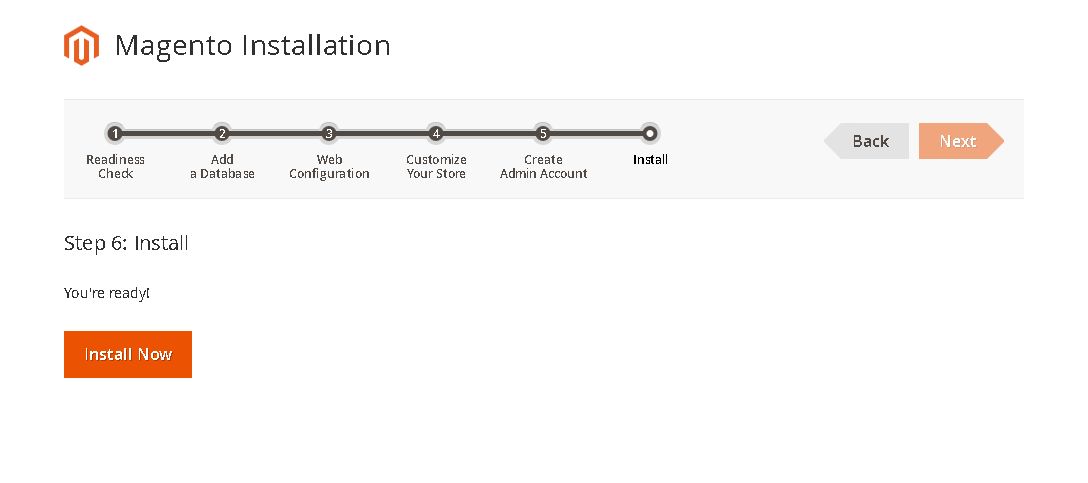
-
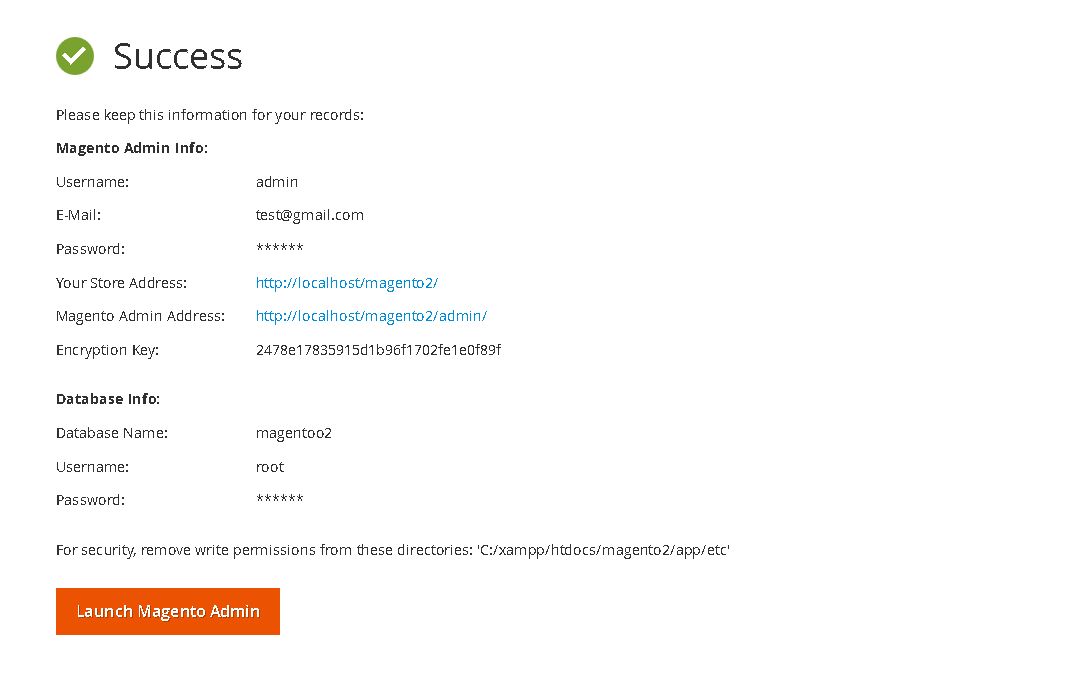
If everything moves well, you will be presented with
below success message and can access your store via
-
Frontend url : https://localhost/magento2
-
Admin url : https://localhost/magento2/admin
-
-
If any issues / suggestion, comments are most appreciated. Next in the journey will go through magento 2 architecture
-
Should you’ve any queries feel free to ask your queries in the comment. Happy to help
Thanks for your interest!
Team CedCommerce
Julia
This sounds like very sesinble advice and I achieved it by putting a check in /templates/catalog/layer/filter.phtml.This is the function I’m using to check and it seems to work just fine, having looked at a few pages as Googlebot.function IsGooglebot(){// check if user agent contains googlebtif(eregi(“Googlebot”,$_SERVER[‘HTTP_USER_AGENT’])){$ip = $_SERVER[‘REMOTE_ADDR’];//server name e.g. crawl-66-249-66-1.googlebot.com$name = gethostbyaddr($ip);//check if name ciontains googlebotif(eregi(“Googlebot”,$name)){//list of IP’s$hosts = gethostbynamel($name);foreach($hosts as $host){if ($host == $ip){return true;}}return false; // Pretender, take some action if needed}else{return false; // Pretender, take some action if needed}}else{// Not googlebot, take some action if needed}return false;}
Raghavi
I installed Magento but I can’t open the admin page with the URL.How should I overcome this issue?
CedCommerce
What error are you facing exactly?